Learning how to install vinyl film can open the door to fast, clean, and cost-effective transformations. Bodaq Architectural Interior Film makes it easy to refresh walls, furniture, doors, and more, with minimal mess and maximum visual impact.
In this guide, we break down the vinyl wall application process into simple, actionable steps. Want to take your skills further? Download our full installation PDF guide and explore hands-on training opportunities through the Bodaq Training Center.
Vinyl film can be used in commercial, residential, and hospitality projects, it’s ideal for wrapping doors, walls, cabinets, panels, and millwork. It bonds to a wide range of surfaces, reduces waste, and enables faster project turnaround.
Materials like Bodaq vinyl film have redefined retrofit finishes and are now being specified in projects by designers featured in platforms like Interior Design Magazine, where flexibility, durability, and surface reusability are in focus.
But none of that matters if the installation isn’t done right. So here’s how to do it right, every time.
Start by preparing the surface. If it’s uneven or damaged, apply putty where needed and sand lightly until smooth. This ensures the film adheres properly and looks flawless once installed.
Before installing Bodaq film, please request our complete Installer Manual in PDF format by filling the form to review the information about the product installation to maintain high quality.

Primer helps improve adhesion, especially on challenging surfaces. Apply it across the entire area and along edges and corners. Once dry, gently sand again. (Note: Primer requirements vary based on the surface, contact our technical team for details.)

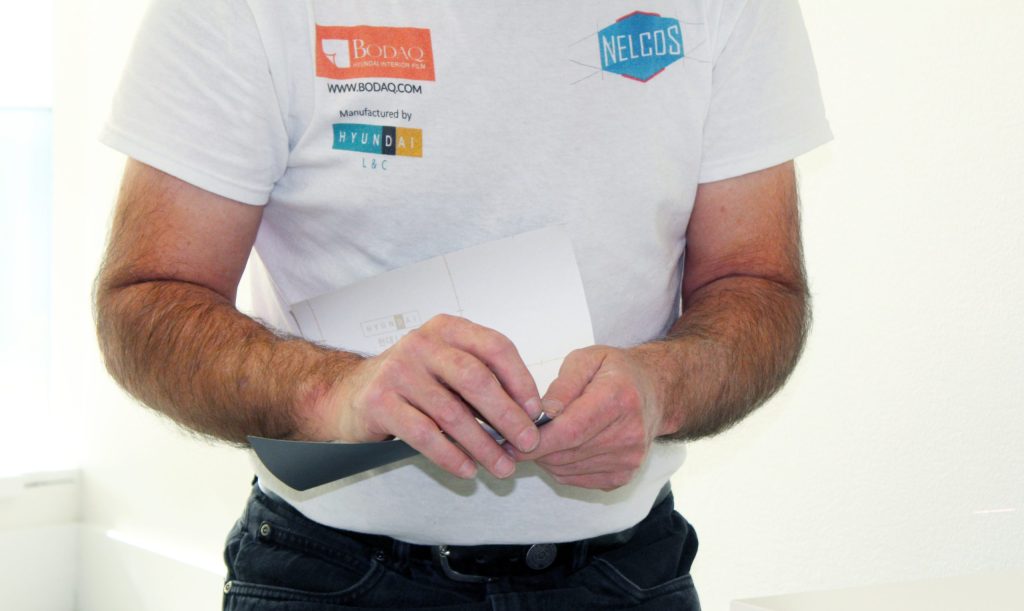
Carefully measure your surface and cut the Bodaq Architectural Film to size. Precise cuts lead to cleaner finishes and easier installation.
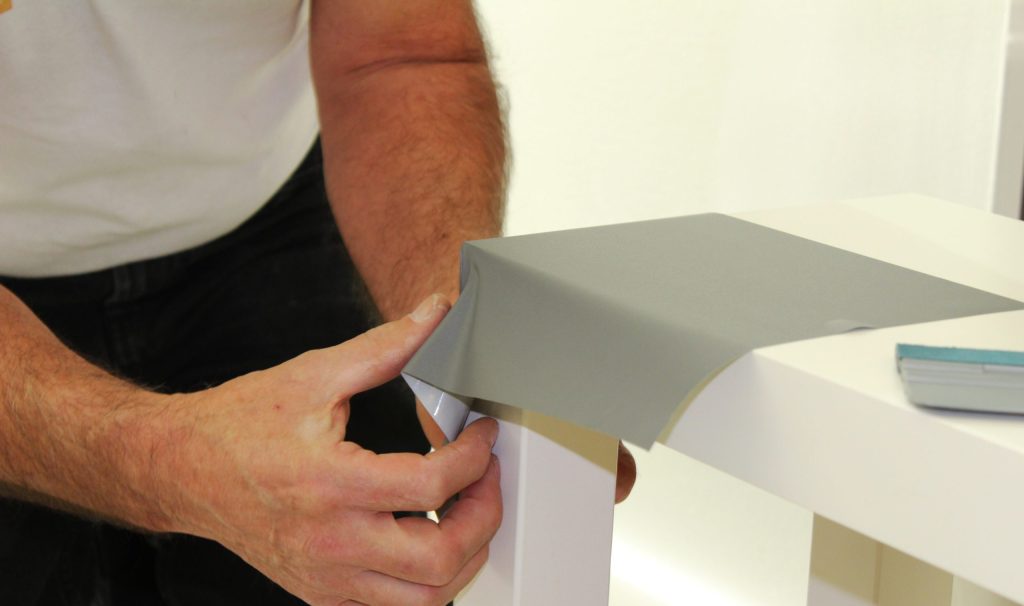
Peel off around 4 inches of the release backing and attach the top edge of the film. Take your time to align it correctly, it’s repositionable, so adjust as needed.
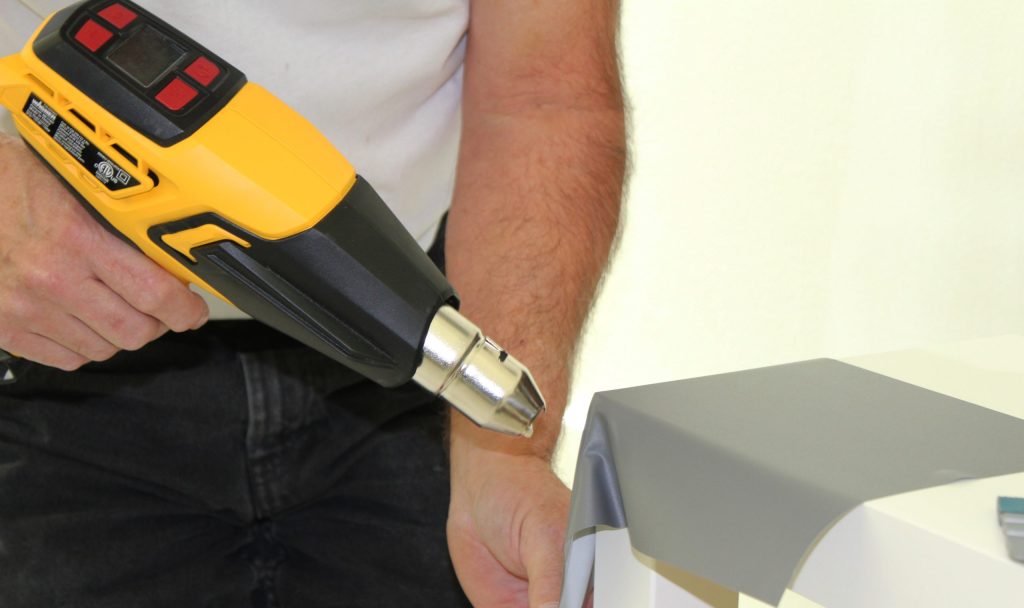
If you’re working around tricky features like curves, trims, or corners, browse creative real life solutions on our canal Bodaq Film by Hyundai | The Americas


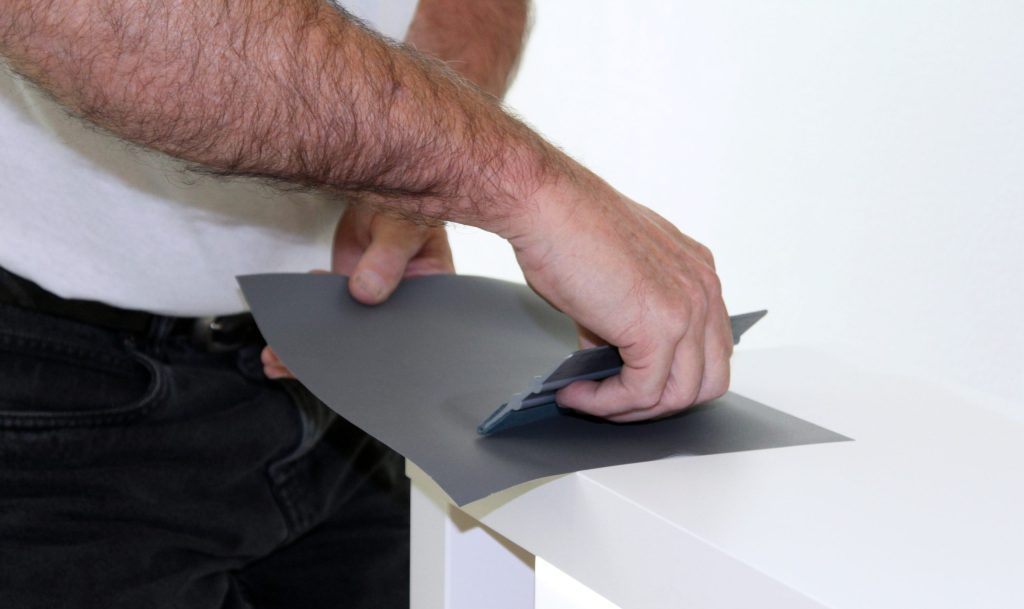
Using a squeegee at a 45° angle, apply the film from top to bottom in a fan-shaped motion. This technique helps remove air bubbles and guarantees a smooth finish.

Architectural film application is growing fast, especially in retail, hospitality, and healthcare. Getting certified can help you close more projects and stand out to designers and contractors who need reliable installers.
Through the Bodaq Training Center, you can attend hands-on sessions in Vancouver, Toronto, or Maryland. Learn surface assessment, corner wrapping, repair techniques, and more.
Download the full step-by-step PDF | Get certified at BodaqTrainingCenter.com
Architectural film gives you the tools to transform space with precision and impact. All you need now: is to start.