
The right film sample package includes standardized metadata (manufacturer, collection, pattern code, sheen, substrate, and edge condition), gets reviewed under at least three lighting scenes including the project’s actual light, and moves to a mockup whenever the application involves a visible seam, a tight corner, or a high-traffic surface. Skip any of those three checks and you risk an approval that looks nothing like the finished wall.
TL;DR:
- Request a sample package that includes a minimum of 24 inches for patterned films or three to five pieces from different points of the roll to assess variation and seam behavior.
- Review film samples under three lighting scenes—warm, neutral, and daylight—to accurately judge color and sheen interactions before approval.
- Use composite sample boards for multiple finishes or hardware junctions and reserve full mockups only for high-visibility, complex applications where failure is costly.
- Write clear acceptance standards based on specific visual criteria, matching samples under defined lighting conditions, and document all testing parameters for dispute prevention.
- Confirm with vendors that production orders match the approved control sample, including pattern code, lot consistency, substrate, and installation instructions, before finalizing the purchase.
Table of Contents
- What to Request: Sample Package and Minimum Sizes
- How Do You Review a Film Sample Correctly?
- Sample Boards vs. Mockups: When Do You Need Each?
- Setting Acceptance Criteria That Prevent Disputes
- Turning an Approved Sample Into a Production Order
- Common Sample Mistakes Trade Professionals Make
- Requesting Trade Samples From Bodaq
- Sources
- FAQ
What to Request: Sample Package and Minimum Sizes
Vague sample requests produce vague answers. A structured request template forces vendors to give you comparable, decision-ready information instead of a swatch and a smile. Every request you send should include:
- Project zone — the exact wall, door, or surface the film is going on.
- Manufacturer and collection — including product line (Wood, Metal, Stone & Marble, Solid Colors, or Fabric & Leather, for example).
- Pattern code and sheen — the specific SKU, not “the walnut one.”
- Dye lot or production batch — critical if you’re ordering months after the sample arrives.
- Substrate — drywall, MDF, laminate, or metal changes how the film reads and adheres.
- Installation technique — dry application, heat forming, wet application.
- Edge condition — square cut, wrapped, or seamed.
- Special instructions — fire rating, cleanability, or ADA contrast requirements.
Sizing matters as much as metadata. A 2 inch chip tells you almost nothing about how a woodgrain or stone pattern will repeat across a 10 foot wall. For patterns with visible repeats or seams, request a minimum of 24 inches in width or a full pattern repeat length, whichever is larger. That size is enough to judge grain direction, repeat spacing, and how a seam will land.
For high-variation patterns, ask for three to five pieces cut from different points in the roll, and have the vendor state in writing how much lot-to-lot variation to expect. A single swatch cannot show you seam behavior or repeat drift, so when edges or joins matter, request an actual seam or corner piece rather than a flat panel.
How Do You Review a Film Sample Correctly?
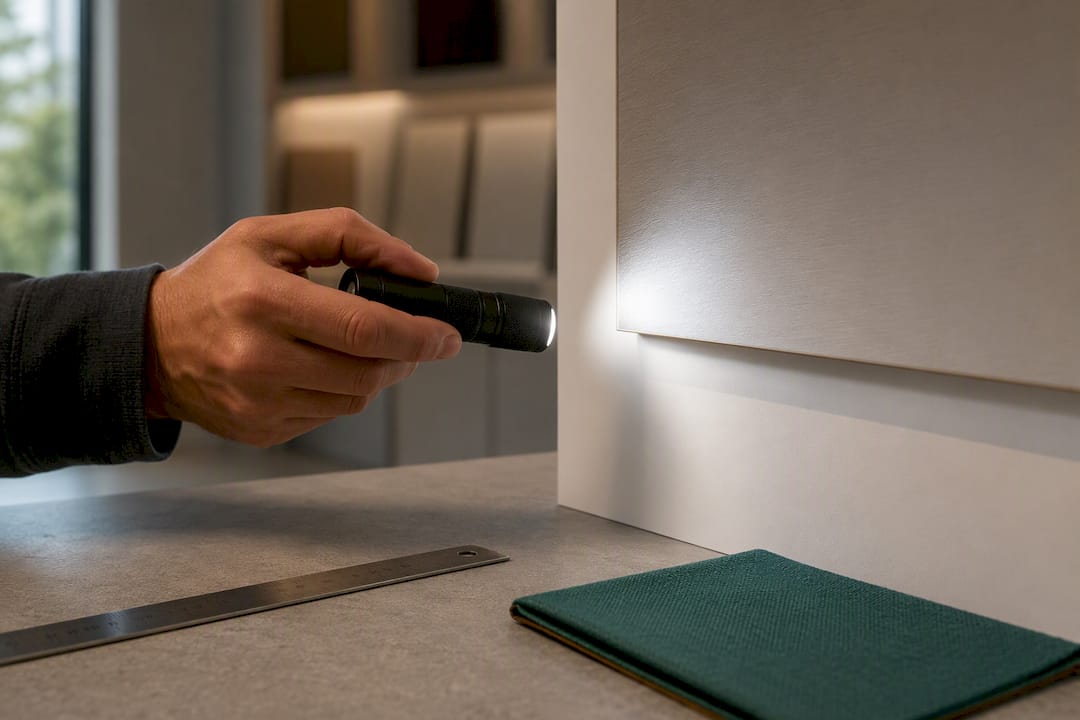
Judge every sample under three lighting scenes: warm light (roughly 2700 to 3000K, typical of residential fixtures), neutral light (3500 to 4000K, common in commercial ceilings), and the project’s own daylight or graze condition at the actual installation angle. Sheen and undertone shift meaningfully between these, and color and finish interaction with light changes by viewing angle, which is why a sample approved under one bulb type can look wrong under another.
- Hold the sample where it will actually live, not on a desk or a showroom counter.
- Compare it against the fixed elements already in the room. Flooring, trim, and hardware define how a finish reads in situ far more than an isolated swatch does.
- Photograph the sample for the record, but make the final call with your eyes, not the camera.
- Leave the sample in place for a day or two if the schedule allows. Light shifts through the day reveal problems a five-minute look will miss, and preparing the viewing area and observing over time is standard practice among design teams that don’t want callbacks.
Document the CCT, CRI, beam type, and viewing angle for every scene you test. That record becomes your defense if a client or contractor later disputes what was approved.
Pro Tip: Keep a cheap CCT-rated flashlight in your sample kit. It lets you replicate the “neutral 4000K” scene on-site even when the building’s fixtures haven’t been installed yet.
Sample Boards vs. Mockups: When Do You Need Each?
Not every application needs the same level of scrutiny, and treating a low-risk closet door the same way you treat a hotel lobby feature wall wastes everyone’s time.
- Standard sample chip works for single-surface, low-visibility applications where mismatch risk is minor, like a back-of-house door or a storage cabinet.
- Composite sample board is warranted for spaces with multiple finishes meeting, or when hardware and trim need to be judged together. Build it at a common size like 24 by 36 inches, mount the film alongside actual trim, hardware, and seam details, and group boards by sightline so reviewers see combinations the way they’ll appear in the finished space.
- Full mockup, built by the actual installer with production materials, is required for high-visibility walls, complex corners, or any application where a failure is expensive to fix. A proper mockup includes adjacent conditions and terminations, and it should use the same crew that will do the production install so the test is predictive, not aspirational.
For any mockup, check flatness, seam shadowing under grazing light, edge quality at terminations, and the attachment method before signing off.
Setting Acceptance Criteria That Prevent Disputes
Loose language like “should look good” invites arguments later. Write acceptance clauses that reference a physical standard: “Match approved control sample under agreed lighting scenes; no single panel with dominant dark streaking or visible color banding.” Manufacturer specifications for architectural film commonly call for at least two verification samples per product representing the actual color and pattern being ordered, which gives you a documented baseline to cite.
- Reject on sheen mismatch visible at normal viewing distance.
- Reject on seam shadowing under raking light.
- Reject on chips, bubbling, or edge lifting on the sample itself.
- Reject on warping or substrate telegraphing through the film.
Keep the physical control sample, label it with the project name and approval date, and attach your lighting notes and photos directly to the submittal package.
Turning an Approved Sample Into a Production Order
Approval means nothing if the order that follows doesn’t reproduce it. Before you release a purchase order, confirm the following with your supplier:
- The vendor can commit to matching your approved control sample, not just “the same pattern code.”
- Your order specifies the exact pattern code, roll width, and yardage, along with substrate prep notes.
- Installer certification is confirmed if the manufacturer requires it for warranty coverage.
- The vendor has provided written cleaning and maintenance guidance specific to that finish.
- Lead time and expected production variation are documented in writing, not verbally promised.
Batch handling is where most field disputes start, so get the dye-lot commitment in writing before the roll ships.
Common Sample Mistakes Trade Professionals Make
The mistake I see most often isn’t a bad film choice. It’s an approval made in a showroom, under fluorescent lights that bear no resemblance to the project site, on a swatch too small to show a seam. Document your lighting, keep a labeled control sample, and build a real mockup whenever the cost of being wrong is high. Skipping these steps doesn’t save time. It just moves the argument to the punch list.
— Bodaq
Requesting Trade Samples From Bodaq
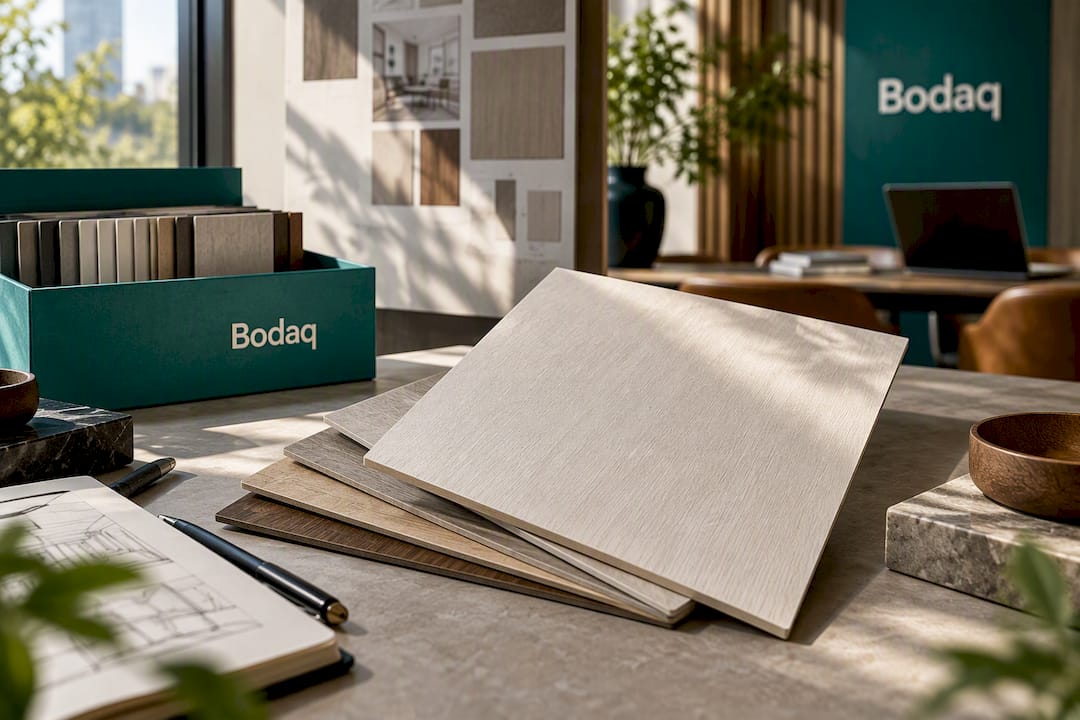
Bodaq’s catalog includes a wide range of architectural finishes across Wood, Metal, Stone & Marble, Solid Colors, and Fabric & Leather collections, which gives your team enough range to find a close match rather than settling for “close enough.” Trade accounts can request physical samples directly, and orders are fulfilled through an authorized distribution network built for professional volume, not one-off retail purchases.
If your project calls for a durable, easy-maintenance finish, the Easy Clean – High-Performance Collection ECF01 is worth requesting alongside your other candidates, particularly for high-touch surfaces like doors and cabinetry. Browse the full interior film collections to shortlist pattern families before you submit your sample request, then visit the Bodaq product catalog to start a trade order once your control sample is approved and documented.
Sources
- Best practices for visually evaluating the color of samples | Konica Minolta Sensing
- Bodaq® Interior Film USA | 468 Architectural Finishes — Samples & Trade Pricing
- Review and Quality Control: Sample Boards, Mockups, and Coordination Checks | Cursa
- Sample approval process best practices | Designer Charrette
- Interior sample review preparation checklist | BuildDesignHub
FAQ
How Many Film Samples Should I Request Per Project?
Request multiple pieces for any pattern with visible grain or repeat variation, cut from different points in the production run. For uniform solid colors, one properly sized sample is usually enough, but ask the vendor to confirm dye-lot consistency in writing.
What Size Should a Film Sample Be?
For patterns with a visible repeat, request a minimum of 24 inches wide or a full repeat length, whichever is larger. Smaller chips can’t show seam behavior or repeat drift, which is exactly what causes disputes after installation.
Do I Need a Mockup for Every Project?
No. Reserve full mockups for high-visibility walls, complex corners, or applications where a mistake is costly to fix, and use a standard chip or composite sample board for lower-risk surfaces. A mockup built by the actual installer with production materials gives the most reliable prediction of the finished result.
Does Bodaq Offer Trade Samples?
Samples are available across a full catalog of architectural finishes, including Wood, Metal, Stone & Marble, Solid Colors, and Fabric & Leather collections. Contact trade sales through the Bodaq site to request samples.
What Lighting Should I Use to Review a Sample?
Review every sample under warm light (about 2700 to 3000K), neutral light (about 3500 to 4000K), and the project’s actual daylight or graze condition. Color and sheen shift meaningfully between these, so documenting the lighting conditions used protects your approval record if anyone questions the final result.