Film adhesion failure means your self-adhesive architectural film is peeling at the seams, lifting at the edges, or delaminating across a panel instead of bonding flush to the wall. Most cases are repairable if you catch them early: stop touching the loose area, check whether the paint underneath was fully cured and free of contamination, then run a quick adhesion test on an unaffected section. If the test pulls paint off the wall, call a certified installer before you do anything else.
TL;DR:
- Contamination from oils, silicone residues, or cleaning agents is the leading cause of adhesion failure, often visible within days after installation.
- Using flat or matte paint finishes and applying film over uncured or low-VOC paints significantly increases the risk of premature lift or bubbles.
- Conducting adhesion tests on every wall before installation and ensuring proper surface preparation greatly reduces the chance of failure.
- Small edge lifts or bubbles can usually be fixed by cleaning, using heat, and re-squeegeeing, but large delamination often requires wall repair or full panel replacement.
- Selecting high-performance, stretchable films with air channels and working with certified installers minimizes future callbacks and adhesion issues.
Table of Contents
- Why Film Adhesion Failure Happens in the First Place
- How to Prevent Adhesion Failure Before You Ever Pick Up a Squeegee
- Fixing Small Edge Lifts and Trapped Bubbles on the Spot
- When a Small Fix Isn’t Enough: Repair Versus Full Replacement
- Keeping Film Adhered for the Long Haul
- The Bodaq Perspective on Reducing Adhesion Risk From the Start
- Get the Right Film and the Right Installer From the Start
- Sources
- FAQ
Why Film Adhesion Failure Happens in the First Place
Peeling almost always traces back to one of five culprits, and figuring out which one you’re dealing with saves you from redoing work twice.
Contamination sits at the top of the list. Silicone caulk residue, furniture polish, cooking oils in kitchens, even leftover cleaning spray can create an invisible barrier between the wall and the adhesive. You won’t see it, but the film will tell you within days.
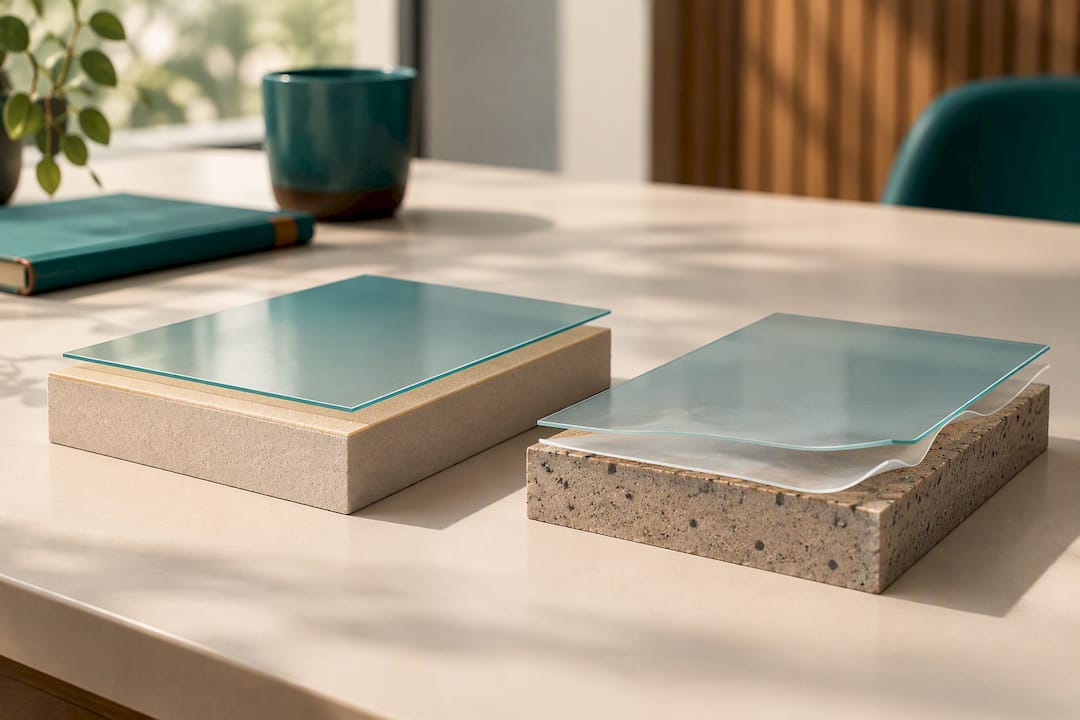
Paint chemistry causes more failures than installers expect. Manufacturer bulletins repeatedly flag uncured paint, low-VOC formulations, and finishes with migratory additives like silicones or waxes as sources of outgassing that push film right back off the wall, sometimes producing bubbles that appear weeks after a clean install, according to Avery Dennison’s installation guidance.
Beyond chemistry, three other factors matter:
- Texture and porosity. Textured paint, unsealed drywall, and wallpaper all give adhesive too little continuous surface to grip.
- Environment. Swings in temperature or humidity, and moisture migrating through a wall from the other side, weaken bond strength over time.
- Installation error. Overstretching the film during application, skipping edge sealing, or rushing the squeegee pass leaves stress points that lift first.
Installer commentary backs this up directly: most early failures trace to the wrong surface, poor preparation, or rushed technique rather than any flaw in the film itself, according to C17 Media’s review of architectural film longevity.
How to Prevent Adhesion Failure Before You Ever Pick Up a Squeegee
Prevention is cheaper than any repair, and it takes about the same amount of time as doing the job wrong the first time.
- Repair the substrate first. Fill holes, sand rough patches, and prime bare or porous drywall so the surface underneath is uniform.
- Choose the right paint finish. Stick with semi-gloss or gloss. Flat and matte paints, and anything loaded with matting agents, resist strong adhesive bonds and are a known cause of premature lift.
- Respect cure time. Give fresh paint the full cure window your paint manufacturer specifies before applying film. Rushing this step is the single most common mistake on renovation timelines.
- Clean with the right solution. A 70% isopropyl alcohol and 30% water mix removes dust and light residue; grease and oil need a stronger degreaser followed by a full rinse, per 3M’s DI-NOC installation guide.
- Run the adhesion test on every wall. Apply a small test strip, let it set, then pull it. If it releases cleanly, you’re clear. If it pulls paint off the wall, the paint bond itself is too weak and no amount of extra cleaning will fix that.
- Use adhesion promoter strategically. Apply it at edges, overlaps, and any area where the film gets stretched around a corner, respecting the drying time for water based versus solvent based formulas before proceeding, according to the DI-NOC Application Bulletin.
- Work within the recommended temperature range and re-squeegee edges immediately after placement, before the adhesive begins to set.
Pro Tip: Keep your test strips. If a wall fails adhesion testing in one spot, test two more spots nearby before you commit to full installation. Paint quality often varies across a single room, especially where a contractor patched drywall at different times.
Fixing Small Edge Lifts and Trapped Bubbles on the Spot
A lifted corner or a small bubble rarely means starting over. Contain the problem first: stop foot traffic near the area and resist the urge to press the edge back down with your fingers, since oils from skin make the contamination problem worse.
- Clean the lifted section with isopropyl alcohol, let it dry fully, then re-squeegee from the center outward.
- Apply gentle, controlled heat to help the film relax back into position before your final squeegee pass, a technique Avery Dennison’s facade film bulletin recommends for edge finishing.
- If the edge won’t hold, lift it slightly, apply adhesion promoter underneath, wait the specified dry time, then reset with heat and a squeegee.
- For small trapped bubbles, use a fine pin or an air-release tool to puncture, then squeegee the air out toward the puncture point.
Pro Tip: Treat double-sided tape or staples as a last resort only, and warn the property owner first. Both can leave marks or holes that outlast the film itself.
When a Small Fix Isn’t Enough: Repair Versus Full Replacement
Large-area delamination calls for a diagnosis before you touch a tool.
- Run the adhesion test again, this time on the affected wall. If it pulls paint, you’re facing a substrate or paint problem, not an adhesive one. Cleaning won’t solve it. Only paint-to-substrate repair or a full repaint with a compatible primer will.
- For a contained area, replace the panel. Remove the affected film, clean the wall, prime or seal as needed, then install fresh film with proper edge finishing rather than patching over the old edge.
- Escalate to full replacement when you see moisture intrusion, systemic outgassing across multiple walls, repeated failures in the same spot, or signs of a manufacturing defect in the adhesive coat itself, since coat weight and UV absorber content directly affect long-term bond stability, per research on adhesive coat composition.
- Bring in a certified installer or a paint and substrate specialist once the diagnosis points to anything beyond a single edge or bubble.
- Monitor the repair for two to four weeks. Adhesive bonds build strength over the first 24 to 48 hours and continue curing after that, so early monitoring catches problems while they’re still cheap to fix.
Keeping Film Adhered for the Long Haul
Aftercare is where most avoidable failures actually happen, months after a flawless install.
- Clean with pH-neutral solutions only. Skip ammonia-based cleaners and anything abrasive, which break down adhesive at the seams over time.
- Never point a pressure washer at a seam or edge. Angle any spray nozzle away from film boundaries entirely.
- Keep the interior environment as stable as you reasonably can, and avoid placing humidifiers, aquariums, or other wet sources directly against film surfaces.
- Inspect weekly for the first month after installation, then quarterly after that, and keep a simple record of which paint, primer, and installer were used on each wall.
The Bodaq Perspective on Reducing Adhesion Risk From the Start
Most adhesion failures start with the film, not the installer’s skill. The self-adhesive film is built to stretch around curves and tight radii without the wrinkling that traps air and creates the very bubbles installers spend hours chasing later. An air-channeled adhesive can give trapped air somewhere to escape during the squeegee pass instead of pooling under the surface. That structural advantage matters more than any promoter or primer applied after the fact. Bodaq also backs its film with certified installer training built around the tools professionals actually use on site, which is where most callbacks get prevented before they ever happen.
— Bodaq
Get the Right Film and the Right Installer From the Start
The advantage of certain architectural films lies in their stretchable, air-channeled design that resists wrinkling and trapped-air bubbles causing callbacks, often supported by certified installer networks trained on proper techniques.
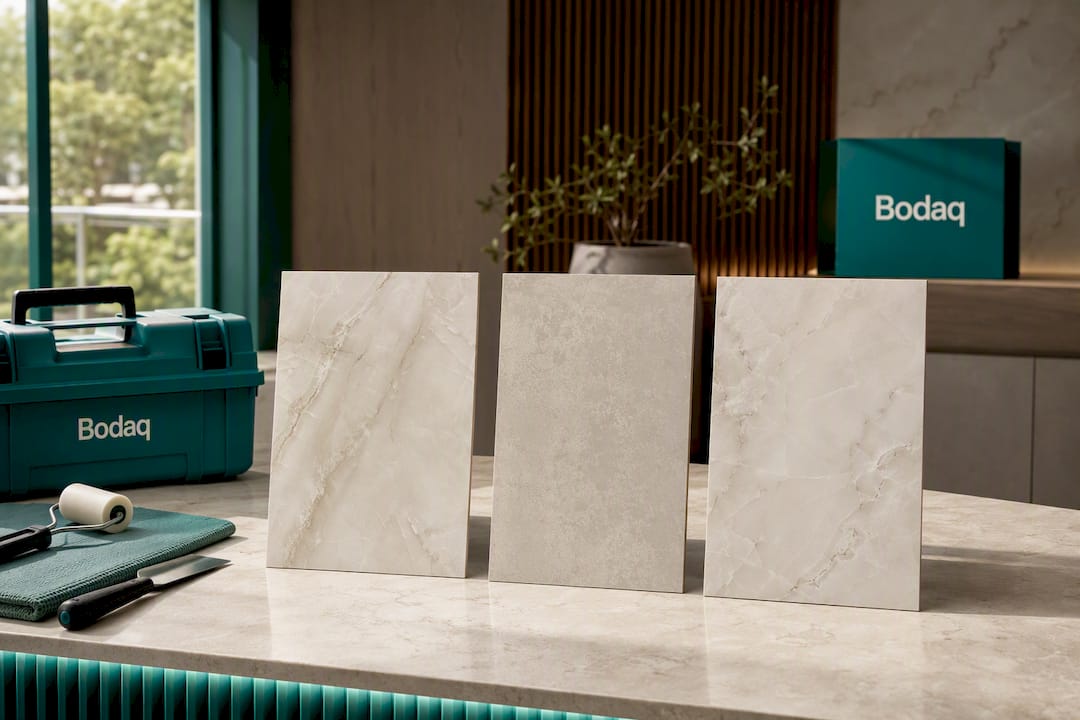
For heavy-use interiors where wipeability matters most, the Easy Clean ECF01 collection is built for daily contact without staining. If you’re working with natural textures on a wall that needs to survive knocks and scuffs, the Rustic Stone EXF52 film and the Onyx EXF51 collection both belong to Bodaq’s High-Performance Collection, designed for durability in demanding spaces. Browse the full range across the Wood, Metal, and Stone & Marble collections to match a look to your project.
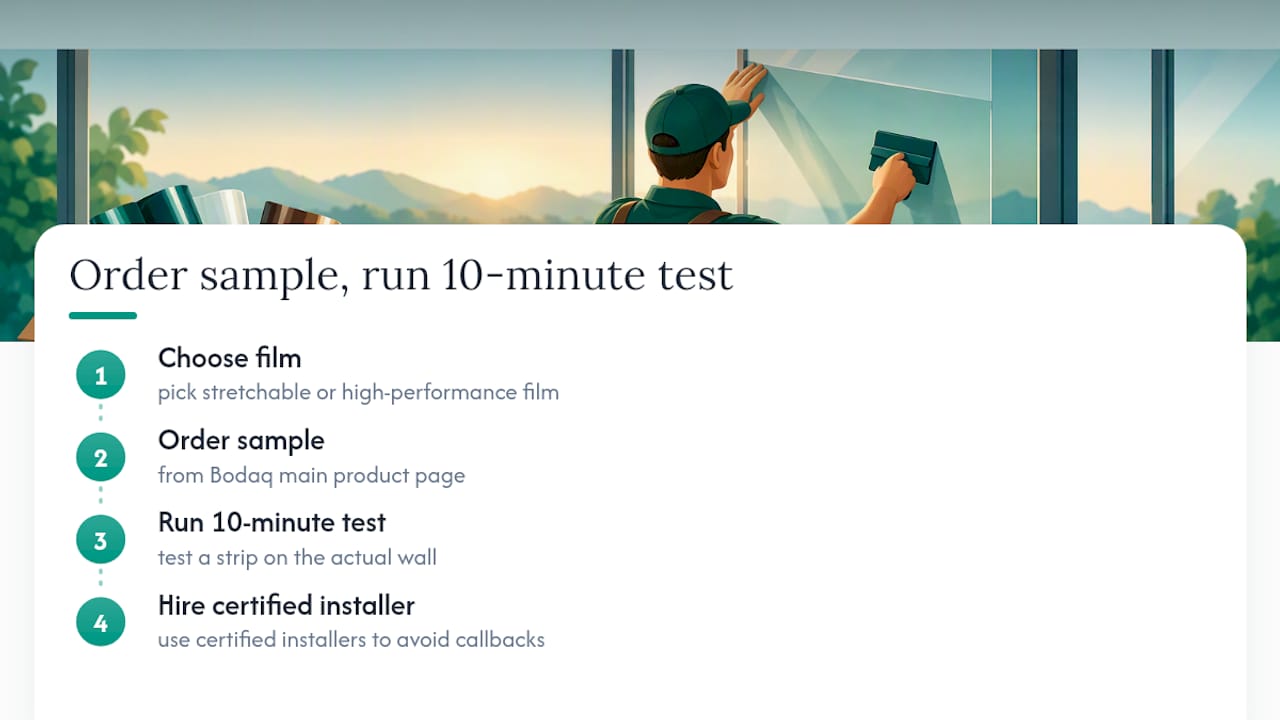
Before committing to a full room, order a sample from Bodaq’s main product page and run your own test strip on the actual wall you plan to cover. It takes ten minutes and it’s the cheapest insurance against a failed install you’ll find.
Sources
Installers troubleshooting a stubborn adhesion problem should keep 3M’s DI-NOC installation guide and the DI-NOC Application Bulletin on hand. Both cover cleaning solutions, adhesion promoter placement, and edge-finishing technique in more depth than any single blog post can.
- Instructional bulletin: interior wall graphics (Avery Dennison)
- 3M DI-NOC installation guide
- Study: adhesive coat composition and film defects (J-STAGE)
FAQ
What causes film adhesion failure most often?
Uncured or incompatible paint is the single biggest cause, especially flat finishes and formulations with migratory silicones or waxes that prevent a solid bond, according to Avery Dennison’s technical bulletin. Contamination from oils, waxes, and cleaning residue runs a close second.
How do I test adhesion before a full installation?
Apply a small test strip to the wall, let it set per the manufacturer’s recommended time, then pull it firmly. If it releases cleanly, the surface is ready; if it pulls paint off the wall, the substrate needs repair first, per 3M’s installation guide.
Can I fix a lifted edge without replacing the whole panel?
Yes. Clean the area with isopropyl alcohol, apply adhesion promoter underneath if needed, and reset the edge with gentle heat and a squeegee. Full replacement is only necessary when the damage covers a large area or the underlying paint has failed.
Should I avoid matte or flat paint under architectural film?
Yes. Semi-gloss and gloss finishes bond far better than flat or matte paints, which often contain matting agents that interfere with adhesive contact.
Does Bodaq film reduce the risk of adhesion problems?
Bodaq’s stretchable, air-channeled adhesive is designed to conform to curves and release trapped air during installation, which lowers the risk of wrinkling and bubbling that lead to lift. Current pricing and collection details are available directly on Bodaq’s site.