
Yes, you can install self-adhesive architectural film over laminate, provided the substrate is clean, fully bonded, and free of damage. Success depends on proper preparation: deep cleaning, deglossing where needed, and repairing any loose or lifted sections before you begin. Installation training can sharpen corner and edge technique, and product guides and lines support the entire process from prep to final trim.
TL;DR:
- Proper surface preparation, including deep cleaning, deglossing, and repairing any damage, is essential for successful film adhesion over laminate.
- Flat, intact, and firmly bonded laminate surfaces are suitable for film application, while flexible or delaminated areas require repair or replacement first.
- High-gloss or textured laminates can challenge adhesion and edge wrapping, especially on sharp profiles, making professional technique critical.
- Using appropriate tools, meticulous measuring, dry or wet installation methods, and heat control are key to achieving clean, durable results.
- Regular maintenance with gentle cleaning extends film life, but damage from impacts or cracking usually necessitates section replacement.
Table of Contents
- When Film Over Laminate Makes Sense (and When It Doesn’t)
- Tools, Materials, and the Prep Checklist
- Step-by-Step Installation: From Measuring to Finished Edges
- Fixing Common Installation Problems
- Cleaning and Maintenance That Extend Film Life
- Why Bodaq Supports a Better Installation Outcome
- Installer Perspective: When to Hire a Certified Pro
- How to Get Bodaq Film, Samples, and Training
- FAQ
When Film Over Laminate Makes Sense (and When It Doesn’t)
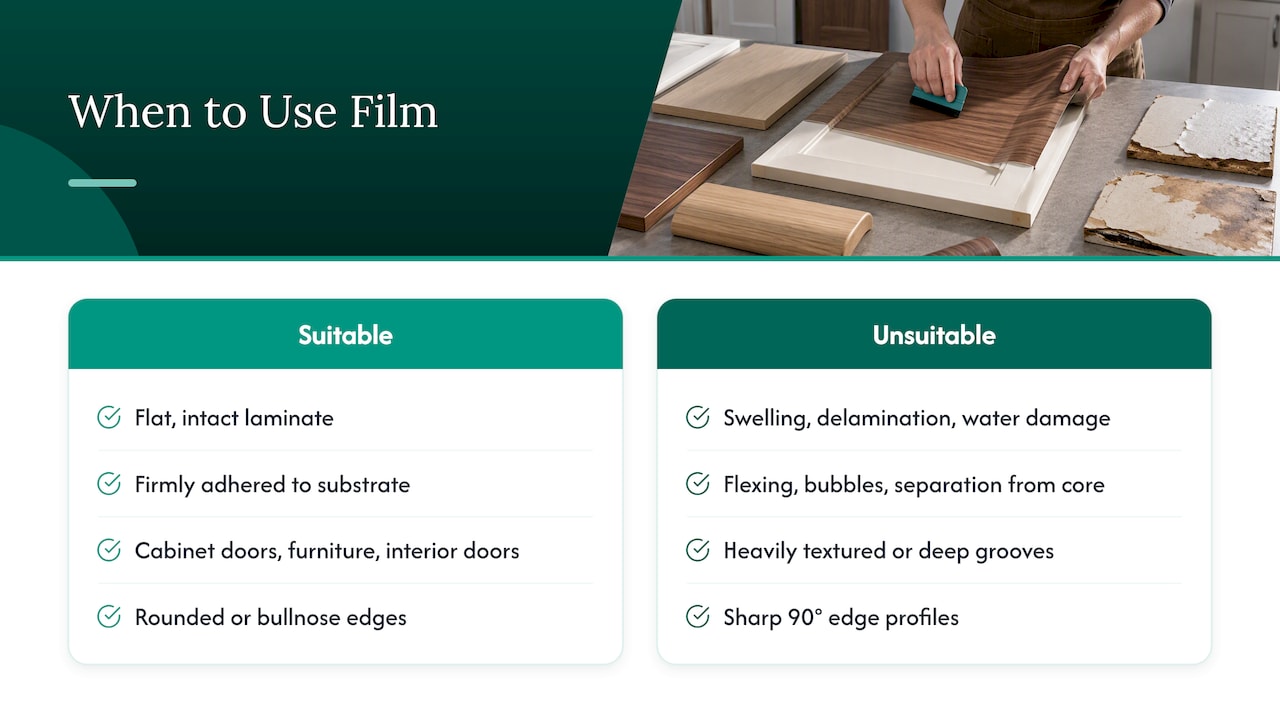
Laminate surfaces that are flat, intact, and firmly adhered to their substrate are ideal candidates for film. Cabinet doors, countertop edges, furniture panels, and interior doors typically qualify as long as there’s no swelling, delamination, or water damage beneath the surface. Film bonds best to a stable base, so any laminate that flexes, bubbles, or separates from its core needs repair or replacement first, not a wrap.
Gloss level and texture affect the outcome more than most people expect. High-gloss laminate often shows adhesion lines or slight texture through the film unless it’s degloss-prepped, while heavily textured or deeply grooved laminate can make edge wrapping difficult. Rounded or bullnose edges generally take film better than sharp 90-degree profiles.
For surfaces with structural damage, deep gouges, or chronic moisture exposure, replacement or a full refinish beats film every time. Film restores appearance and adds a durable top layer, but it isn’t a repair method for a failing substrate.
Tools, Materials, and the Prep Checklist
A clean setup saves time and prevents rework. Before the film comes out of the box, gather the right tools and confirm the surface is ready.
- Felt-edge and hard squeegees for smoothing and final pressure
- A low-temperature heat gun for stretch and edge work
- Precision cutting knives and edge trimmers for clean seams
- A tape measure, straightedge, and masking materials for layout
- Film rolls suited to the surface, such as the Easy Clean – High-Performance Collection ECF01, which is built for high-use, easy-maintenance applications
- Seam tape and adhesion promoter for edge-critical areas
Preparation starts with a deep clean to strip oils, dust, and residue. If the laminate is glossy, a light abrasion or degloss step helps the adhesive grip. Loose or lifting sections need re-bonding before film goes down, and the room itself should sit at a moderate temperature with low humidity so the adhesive cures evenly.
Pro Tip: Wipe the surface twice, once with a degreaser and once with isopropyl alcohol, since leftover film residue is the most common cause of early edge lift.
Step-by-Step Installation: From Measuring to Finished Edges
Getting a clean result comes down to sequence. Rushing the layout or skipping the dry fit is where most installs go wrong.
- Measure each panel and add a small overlap allowance, typically an inch or two beyond the finished edge, to account for trimming and pattern alignment.
- Map grain and pattern direction across adjoining panels so seams read as intentional rather than accidental.
- Dry-fit and pre-cut each piece close to final size, marking reference lines so you can reposition quickly during application.
- Peel back a small section of liner and tack the film in place along one edge, working the adhesive release progressively rather than pulling the full liner at once.
- Squeegee from center outward in overlapping passes, using light, even pressure to push air toward the edges instead of trapping it.
- Apply controlled heat with the heat gun for curves, corners, and recessed profiles, stretching the film incrementally rather than in one aggressive pull.
- Trim flush along edges with a sharp blade, then seal exposed edges with adhesion promoter or edge-specific adhesive where the film meets a raw or end-grain surface.
- Heat-set seams and roll edges with a hard squeegee to lock the bond, then allow the recommended cure time before the surface sees regular use.
Bodaq’s own installation guide walks through this same sequence with surface-specific notes on prep and application technique, which is worth reviewing before a first commercial job.
Corners, curves, and edges are where practiced technique matters most. Bodaq’s training program centers on exactly this: the hand movements and heat control that separate an amateur wrap from a flawless one.
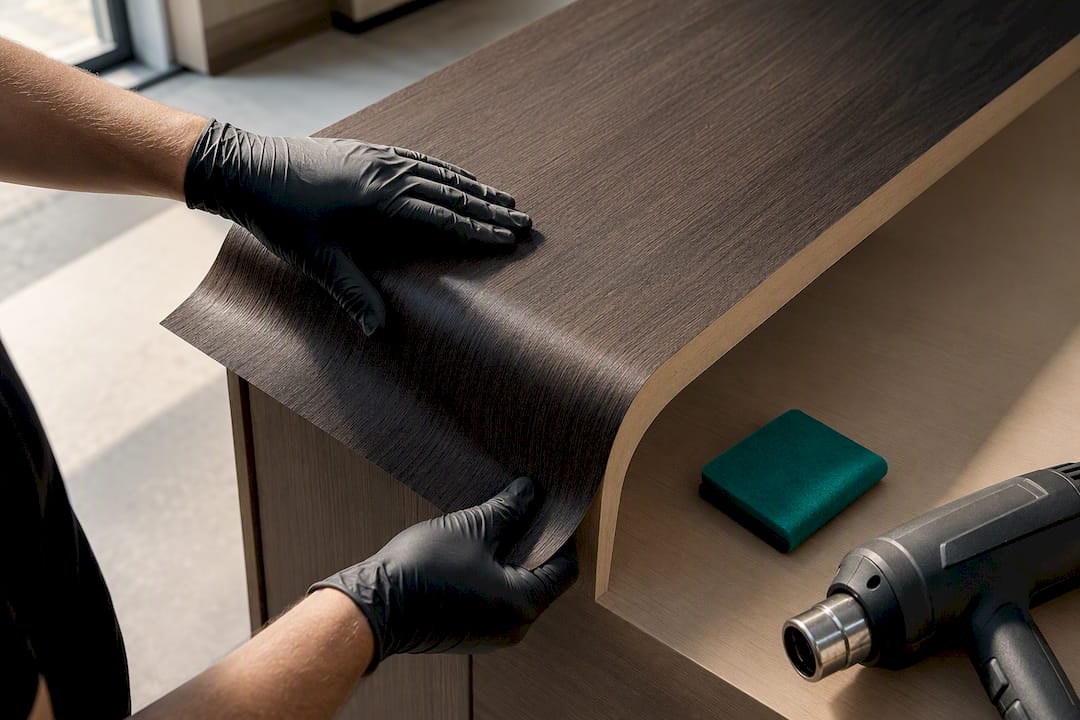
Most installers use a dry method (film applied without repositioning fluid) for smaller panels where precise placement on the first try is manageable, and a wet method with a light mist for larger runs that need slide-and-adjust room. Either way, the goal is the same: even pressure, no trapped air, and edges that lie flat without visible pull marks.
Fixing Common Installation Problems
Even careful installs run into small issues, and most are fixable without starting over.
- Air bubbles: use a fine pin to release trapped air, then press flat with a felt squeegee rather than stretching the film to chase the bubble out.
- Lifting edges: clean the area, lightly abrade if the surface is glossy, apply adhesion promoter, and re-seat the film with firm, even pressure.
- Visible seams: trim the overlap with a precision blade for a hairline join, then heat-set the seam so it lies flush.
- Red flags: persistent lifting after re-application, adhesive failure across a large section, or film that won’t conform to a profile despite heat are signs to stop and call a certified installer rather than force the result.
Cleaning and Maintenance That Extend Film Life
Film-covered laminate holds up well with simple, consistent care. Use a pH-neutral cleaner and a soft cloth for routine cleaning, and skip abrasive pads or harsh solvents, which can dull the finish or degrade the adhesive over time. Maintenance guidance recommends avoiding prolonged direct heat exposure and protecting film from sharp impacts, since punctures are harder to blend than surface scuffs.
Minor scuffs or small lifted corners can often be spot-repaired with a heat gun and adhesion promoter. Widespread lifting, cracking, or discoloration across a panel usually means it’s time to replace that section rather than patch it repeatedly.
Why Bodaq Supports a Better Installation Outcome
Bodaq film is stretchable and self-adhesive, which gives installers more control during heat and stretch steps than rigid alternatives allow. The catalog spans more than 450 textures and colors, so matching a specific design intent rarely requires compromise. Choosing film over full replacement also cuts material waste, a point Bodaq makes directly when comparing film to painting or tear-out renovation.
Bodaq backs the product with a step-by-step installation guide and a certified training program built around practical corner, curve, and edge technique. For contractors specifying materials at scale, that combination of product consistency and trained labor reduces callback risk on finished projects, a benefit Bodaq outlines for general contractors directly.
Installer Perspective: When to Hire a Certified Pro
Complex curves, wrapped corners, and high-traffic commercial installs reward practiced hands. DIY works well for flat panels and low-visibility areas, but training closes the gap on edge finishing that separates a passable job from an invisible one. Budget for a certified installer when the project involves tight radiuses, large square footage, or a client who will notice every seam.
— Bodaq
How to Get Bodaq Film, Samples, and Training
Once you know your surface qualifies, the next step is simple: get the right film in hand and, if the project calls for it, get trained hands on the tools. Bodaq makes both easy to arrange.
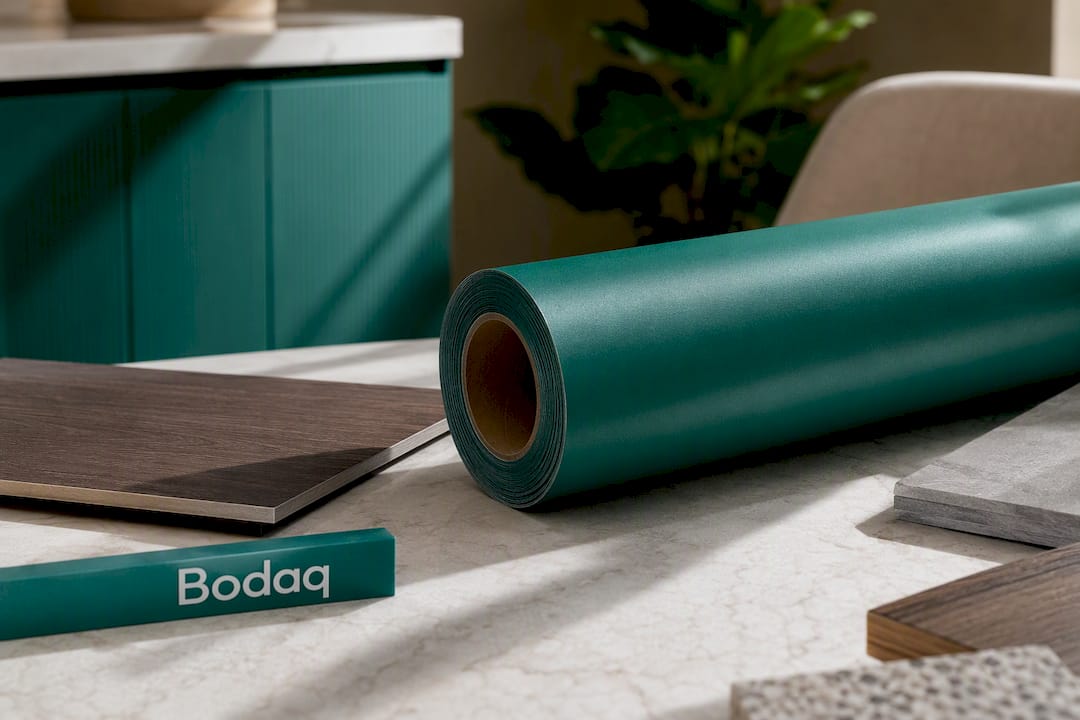
- Browse the full Bodaq Interior Film catalog, including the Wood Collection, Metal Collection, Stone & Marble Collection, and other lines
- Request samples or a dealer and installer referral through Bodaq’s US site
Whether you’re planning a single kitchen refresh, similar in scope to what’s covered in this kitchen renovation planning guide, or specifying film across a commercial fit-out, product and training resources are designed to help you get from measurement to finished edge without guesswork on technique.
FAQ
Can you put film directly over laminate cabinets?
Yes, as long as the laminate is clean, flat, and firmly bonded to its substrate. Glossy surfaces typically need a degloss step first, and any loose or damaged laminate should be repaired before film goes on.
What film works best on high-use laminate surfaces?
The Easy Clean – High-Performance Collection ECF01 is positioned specifically for high-performance, easy-maintenance applications like cabinet fronts and commercial furniture. Its finish is built to hold up under frequent contact and cleaning.
How do you get rid of bubbles after installing film?
Release trapped air with a fine pin prick, then press the area flat with a felt squeegee instead of stretching the film to push the bubble out. Working from the center outward during the initial application prevents most bubbles from forming in the first place.
Is professional installation necessary, or can I do it myself?
Flat panels and simple layouts are manageable for a careful DIY installer, but corners, curves, and large commercial areas benefit from trained technique. A certified training program focuses specifically on the edge and curve skills that produce a professional finish.
How long does film over laminate typically last?
Durability depends on surface prep, film choice, and daily wear, but a properly installed film on a sound substrate holds up well under normal residential and commercial use. Avoiding prolonged direct heat and sharp impacts, as outlined in Bodaq’s maintenance guidance, extends its service life.