
Decorative heat resistant film belongs on cabinet faces, island panels, and doors, not anywhere inside a cooktop’s required clearance zone. The safe-use rule is simple: keep film away from open flames, grease splatter, and appliance heat, and check both the product’s temperature specs and NFPA 96 guidance before you commit to a placement near any cooking equipment.
TL;DR:
- Decorative film should be placed only on surfaces away from direct heat, open flames, and grease splatter, following NFPA 96 clearance guidelines.
- Most decorative films are not oven-safe or fireproof, and labels claiming heat resistance usually do not mean they can withstand direct cooking heat or flames.
- Use only films with specified maximum continuous temperature and fire ratings, and request technical data sheets if these figures are not listed online.
- Proper installation, including thorough cleaning and avoiding seams near heat sources, is crucial for long-term durability.
- When installed within safe zones, architectural film can last for years, but proximity to heat or moisture accelerates aging and damage.
Table of Contents
- What ‘heat resistant’ usually means on a product label
- Kitchen safety codes and recall data homeowners should know
- Where decorative film works in a kitchen, and where it doesn’t
- Reading temperature specs and safety claims before you buy
- Installing and maintaining film so it lasts in a kitchen
- Why architectural film fits low-heat kitchen surfaces
- What heat resistant kitchen film costs
- How long kitchen film actually holds up
- Common problems and how to fix them
- Balancing design goals with safety-first decisions
- Finding the right Bodaq collection and getting a sample first
- Sources
- FAQ
What ‘heat resistant’ usually means on a product label
Decorative self-adhesive films, the kind used to refinish cabinets, furniture, and doors, are typically made from vinyl, PVC, or polyester layers bonded to an adhesive backing. They’re built for texture, color, and durability against scuffs and moisture, not for direct contact with flame or extreme heat.
Ovenable films are a different category entirely. Packaging brands like Pactiv Evergreen manufacture lidding film rated ovenable up to 400°F for as long as 60 minutes, engineered and lab-tested specifically for food-contact heat exposure. Multi-Plastics makes a similar case with its ovenable polyester lidding film, and Flexopack’s cook-in skin films are certified for direct thermal exposure during cooking. None of that testing applies to a decorative wall or cabinet film, even one marketed as “heat resistant.” A label claiming heat resistance on a home décor product almost never means oven-safe or fireproof performance, and treating the two as interchangeable is where most kitchen film mistakes start.
Kitchen safety codes and recall data homeowners should know
NFPA 96 sets clearance-to-combustibles requirements around cooking equipment, and it’s the standard most commonly referenced when setting safe distances in both commercial and residential kitchens. In practice, that means most self-adhesive vinyl decorative films count as combustible material and shouldn’t be installed within a cooktop’s mandatory clearance zone. Tile, metal, and tempered glass are the materials meant for that immediate splash area, with film reserved for surfaces set back from direct heat.
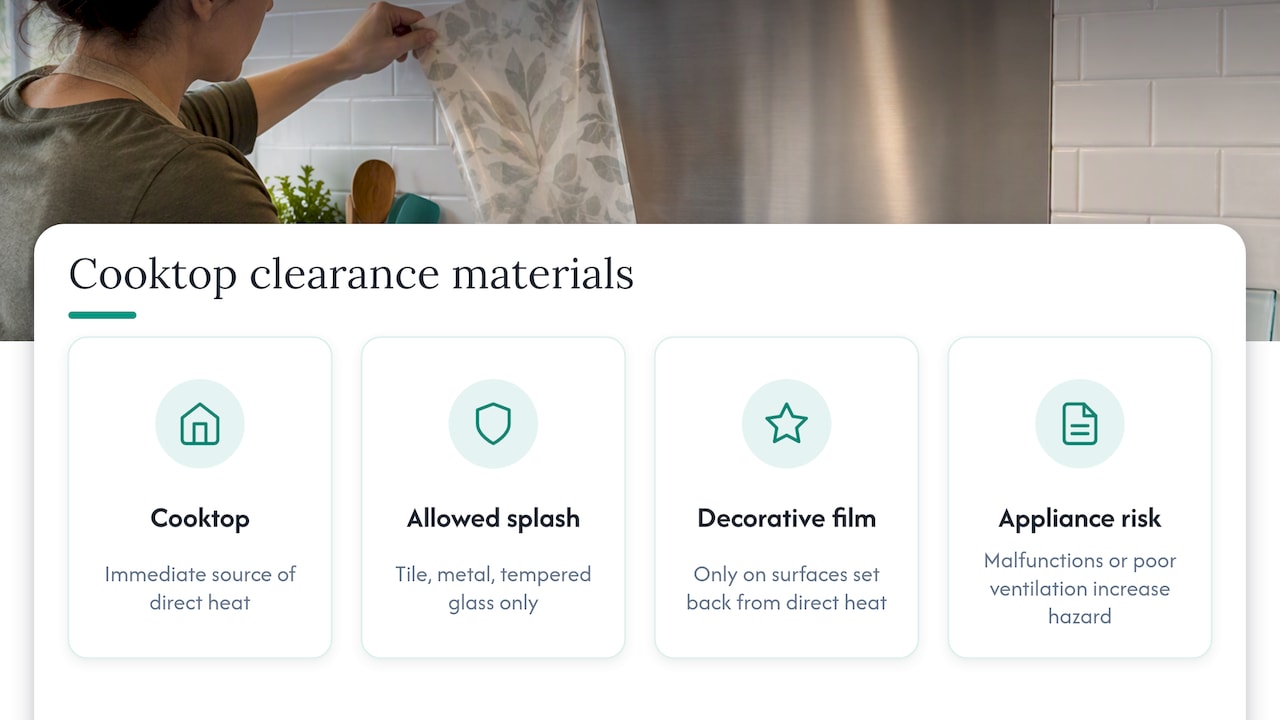
Appliance recalls reinforce why this matters beyond code compliance. The Consumer Product Safety Commission recalled certain Scotch thermal laminators after they overheated and posed burn and fire hazards, a reminder that appliance condition and ventilation affect the safety of everything nearby, not just the film’s own rating. A film can meet its stated spec and still be at risk if the appliance beside it malfunctions or vents poorly. Check your appliance manual and local building code for exact clearance distances before finalizing any layout, since requirements vary by equipment type and installation.
Where decorative film works in a kitchen, and where it doesn’t
Once you understand the clearance rule, placement decisions get straightforward. Film performs well on surfaces that see daily wear but not direct heat, and it should stay off anything inside a cooktop’s specified safety zone.
Good candidates include:
- Cabinet faces and drawer fronts, which take contact and moisture but sit away from open flame.
- Island panels and end caps, ideal for a design refresh with zero heat exposure.
- Refrigerator sides and appliance panels that aren’t part of a cooking surface.
- Interior doors and trim, ideal for tying a kitchen’s palette together.
Avoid these placements entirely:
- Backsplash sections directly behind a cooktop or range, inside the appliance’s required clearance.
- Walls near deep fryers or grills, where grease and radiant heat combine.
- Inside oven cavities or anywhere exposed to direct flame.
Pro Tip: If you’re unsure whether a wall segment falls inside a clearance zone, measure from your appliance manual’s stated distance rather than guessing from the backsplash tile line.
Reading temperature specs and safety claims before you buy
A meaningful spec sheet lists maximum continuous temperature, short-term exposure limits, and, where available, a flame spread or fire rating. Those three numbers tell you far more than a marketing phrase like “heat resistant” ever will, because they’re tied to actual testing rather than a general impression of durability.
If a product page doesn’t list these figures, don’t assume the gap is harmless. Contact the manufacturer directly and request a technical data sheet, especially if you’re considering a placement anywhere near a heat source. This is also where the packaging-versus-decorative distinction matters most: an ovenable film like the ones from Pactiv Evergreen or Multi-Plastics carries lab-verified temperature ranges because it’s designed for direct heat contact, while most decorative architectural film simply hasn’t been tested that way and shouldn’t be assumed to perform the same. When in doubt, treat the absence of a spec as a placement limitation, not a technicality to work around.
Installing and maintaining film so it lasts in a kitchen
A clean installation starts before the film ever touches the surface. Wipe cabinets or panels down to remove grease and dust, confirm the room is within the manufacturer’s recommended temperature and humidity range, and check that the adhesive is rated for the substrate, whether that’s wood, laminate, or metal.
From there, the process follows a consistent order:
- Measure the panel and add a small margin for trimming.
- Cut the film with clearance from any edge that falls near heat or moisture exposure.
- Apply with a squeegee, working from center to edge to push out air bubbles.
- Allow the adhesive to cure fully before wiping down or exposing the surface to regular use.
Once installed, stick to manufacturer-approved cleaners. Harsh solvents can lift edges or dull the finish over time. Spot-check seams periodically, and replace a section if you notice lifting, discoloration, or bubbling rather than patching over it repeatedly.
Pro Tip: Keep seams away from any surface that sees even indirect heat, since repeated warm-cool cycles are what cause edges to lift first.
Why architectural film fits low-heat kitchen surfaces
Architectural film products that are stretchable and self-adhesive and available in a wide range of textures and colors give homeowners flexibility for cabinet faces, island panels, and doors without the mess of a full refinishing job. Some architectural films are designed to be durable for daily wear and finished to eco-friendly standards, a combination suited to the low-heat, high-traffic surfaces that make up most of a kitchen’s visible footprint.
Two collections stand out for kitchen work. The Easy Clean – High-Performance Collection ECF01 suits cabinet fronts and panels that need to resist daily smudges and wipe-downs, while the Rustic Stone – High-Performance Collection EXF52 brings a natural stone look to island panels and doors set back from the cooktop. For any installation near a heat source, request a technical data sheet first, and for tricky layouts, a certified installer can confirm clearances before the first cut is made.
What heat resistant kitchen film costs
Architectural film is typically sold by the roll or by square footage, and pricing depends on the collection, texture complexity, and finish. Solid color and easy-clean lines tend to sit at a lower price point than stone, marble, or wood-grain textures, which require more detailed printing and lamination to achieve a realistic surface. Bodaq does not publish set prices across its collections, so current pricing is available directly through the product catalog or by requesting a quote.
Beyond the film itself, budget for tools such as a squeegee, a heat gun for tight corners, and possibly a professional installer if the project spans multiple cabinet runs or includes curved panels. Installer labor generally costs more than the film itself for a full kitchen refresh, though a single accent panel or island face may be manageable for a confident do-it-yourselfer. Compared to full cabinet replacement or custom millwork, film remains one of the lower-cost ways to change a kitchen’s look, provided the project stays within the safe zones outlined earlier. Getting a firm number means requesting a quote for your specific square footage and collection, since texture and finish complexity both move the price.
How long kitchen film actually holds up
Durability depends heavily on where the film sits and how it’s treated day to day. On cabinet faces and island panels, away from direct heat and grease, a well-installed architectural film can hold its finish through years of daily contact, wiping, and normal kitchen traffic. The adhesive and surface layer are built to resist scuffing and moisture exposure, which is the bulk of what a kitchen surface actually experiences.
Lifespan shortens fast in the wrong location. Film installed too close to a range, even just outside the mandatory clearance zone, will see more thermal cycling and grease buildup than a panel across the room, and that combination accelerates edge lifting and discoloration. Humidity swings from dishwashers and sinks also play a role, so surfaces near heavy water exposure need more frequent inspection than a dry cabinet face. Proper surface prep at installation, discussed earlier, has an outsized effect on longevity: a rushed or incomplete cleaning step before application is one of the most common reasons a film underperforms its expected lifespan. Kept within its intended low-heat zones and cleaned with approved products, decorative film is a durable, long-term finish rather than a short-term patch.
Common problems and how to fix them
Most issues with kitchen film trace back to one of three causes: heat exposure beyond the product’s rating, moisture getting under an edge, or a rushed installation. Recognizing which one you’re dealing with makes the fix straightforward.
Bubbling right after installation usually means air got trapped during application. A small bubble can often be pierced with a fine needle and smoothed flat, while widespread bubbling points to a squeegee technique that needs another pass or, in stubborn cases, a redo of that section. Lifting edges, especially near a sink or dishwasher, typically signal moisture intrusion, and the fix is resealing the edge with a compatible adhesive rather than ignoring it, since water behind film accelerates damage.
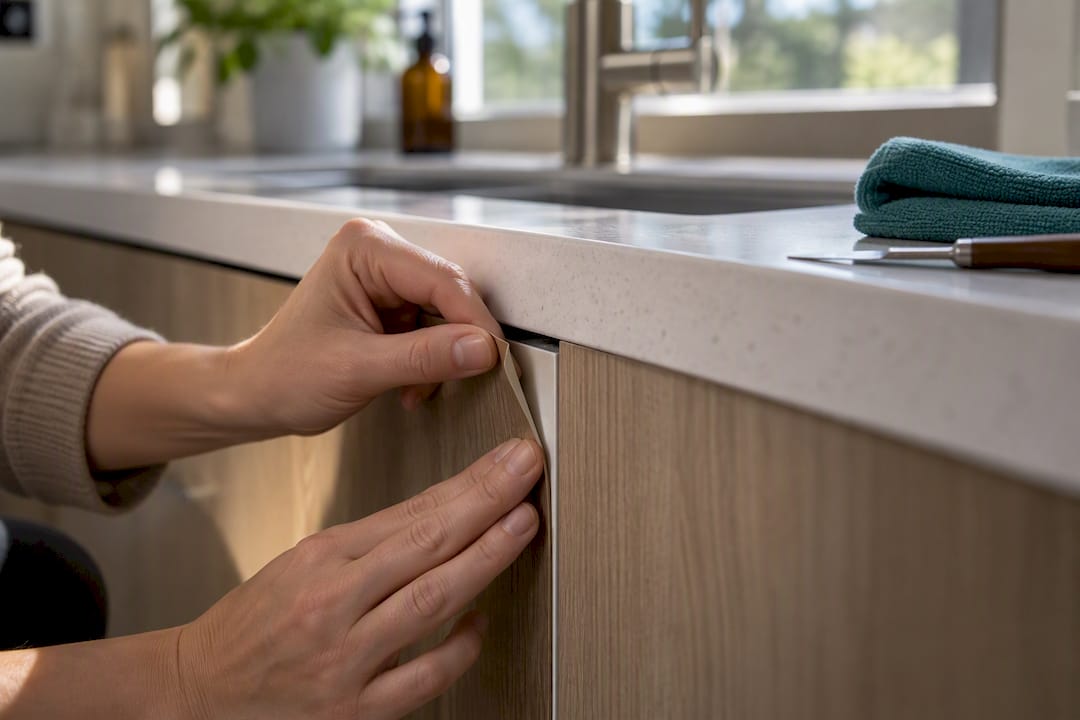
Discoloration or a tacky feel near an appliance is the clearest sign that a panel is getting more heat than intended, even if it’s technically outside the clearance zone. That’s a placement problem, not a product defect, and the long-term fix is relocating the film or adding a noncombustible buffer like metal trim rather than repeating the installation in the same spot. When a section is beyond a simple repair, replacing that one panel is almost always cheaper and cleaner than trying to patch a damaged run.
Balancing design goals with safety-first decisions
Good kitchen design and code compliance aren’t competing goals. The films that hold up best over time are the ones installed with NFPA 96 clearance rules and manufacturer temperature data guiding the layout from the start, not worked around after the fact. When a placement feels borderline, a quick call to an installer or the manufacturer settles it faster than guessing.
— Bodaq
Finding the right Bodaq collection and getting a sample first
Before committing to a kitchen project, it’s worth seeing and touching the finish rather than judging from a photo. Bodaq’s full catalog of collections covers wood, metal, stone and marble, solid colors, and fabric and leather textures, and each product page lists the details you’ll want to compare, including finish samples and technical specifications.
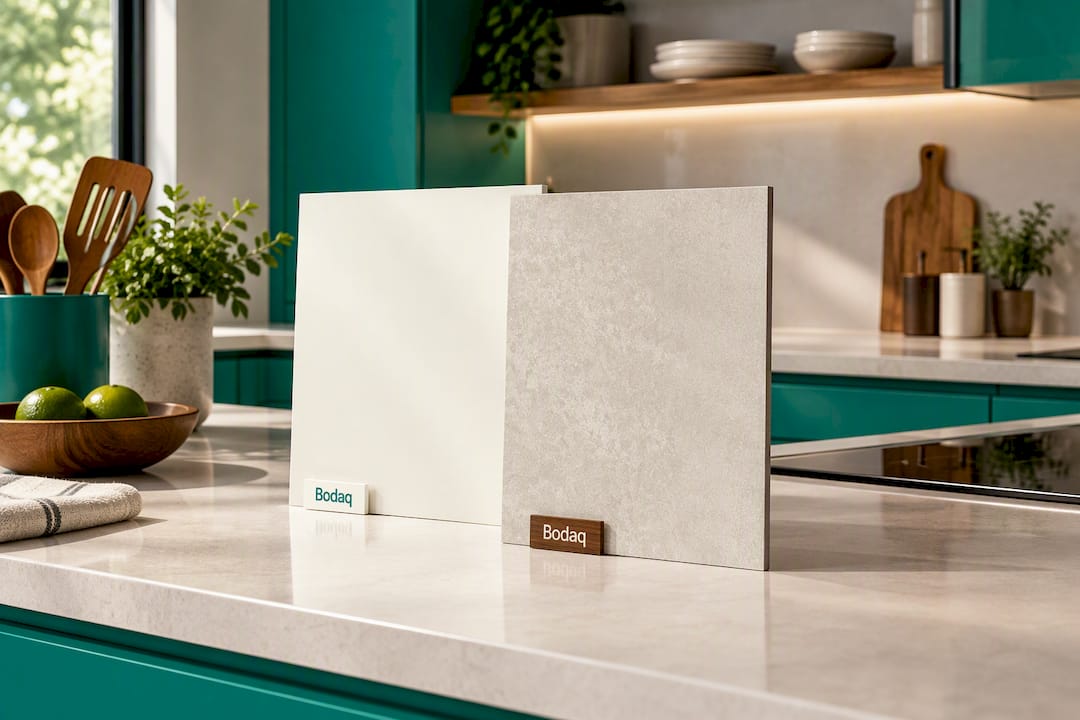
A few steps make the process smoother:
- Browse the Easy Clean ECF01 and Rustic Stone EXF52 pages for finishes suited to cabinet and island panels.
- Request a physical sample to check color and texture against your actual kitchen lighting.
- Ask about installation guidance or a certified installer if your project includes tricky corners or curved panels.
- Request temperature or fire-performance documentation if any panel will sit close to a heat source.
Start at the Bodaq Interior Film homepage to explore the full range and find the collection that fits your kitchen’s layout and style.
Sources
FAQ
Is heat resistant film safe to use behind a stove?
No, decorative heat resistant film should not be installed within the clearance zone required around a cooktop or range. NFPA 96 sets clearance-to-combustibles rules that most vinyl films don’t meet, so that space should use tile, metal, or tempered glass instead.
What’s the difference between decorative film and oven-safe film?
Decorative architectural film is made for cabinets, doors, and panels and isn’t tested for direct heat exposure. Ovenable packaging films, like those rated up to 400°F for up to 60 minutes, are a separate, lab-tested category built for food-contact cooking applications.
Where can I safely install kitchen film?
Cabinet faces, island panels, refrigerator sides, and interior doors are all good candidates since they see daily wear but no direct flame or extreme heat. Bodaq’s Easy Clean ECF01 and Rustic Stone EXF52 are suited to exactly these zones.
How do I know if a product’s heat resistance claim is trustworthy?
Look for a specific maximum continuous temperature, a short-term exposure limit, and any published fire or flame spread rating rather than a general “heat resistant” label. If a product page doesn’t list these, request a technical data sheet directly from the manufacturer before installing it anywhere near a heat source.
How long does kitchen film typically last?
Installed in proper low-heat zones and cleaned with approved products, architectural film can hold its finish through years of daily kitchen use. Lifespan drops significantly closer to heat or moisture sources, which is why placement and surface prep matter as much as the product itself.