
Request presentation-size samples of at least 300 x 300 mm, or bespoke mockup panels for critical surfaces, before you approve any finish. Evaluate them under at least two lighting scenes plus the project’s real-world context, and run an adhesion test directly on the actual substrate rather than trusting a lab result or a vendor’s swatch card. Document everything against acceptance criteria you set before the samples ever arrive, and get a sign-off in writing.
TL;DR:
- Always request presentation samples at least 300 by 300 mm to accurately assess pattern repeat, sheen, and texture in realistic lighting and space conditions.
- Conduct lighting evaluations under at least two controlled scenes and one contextual setting to identify metamerism, sheen conflicts, and color drift before installation.
- Perform adhesion tests directly on the actual substrate using proper preparation to prevent failures that surface only after installation.
- Build mockups for high-visibility surfaces or complex transitions to catch issues with flatness, joints, or lighting interaction early, preventing expensive rework later.
- Document all findings, test results, and discrepancies thoroughly, maintaining a clear record of batch tolerances, environmental conditions, and approved samples to avoid disputes.
Table of Contents
- What Exactly Should You Request for a Sample Evaluation for Finishes?
- How Do You Test Samples for Lighting, Sheen, and Durability?
- When Do You Need a Mockup Instead of a Swatch?
- What Should You Check Before Running an Adhesion Test?
- How Do You Set Acceptance Criteria and Score Sample Results?
- What Defects Show Up Most Often During Finish Evaluation?
- What Tools Do You Actually Need for Sample Evaluation?
- How Do Temperature and Humidity Affect a Finish Evaluation?
- How Do You Keep Lighting Consistent Across Repeated Reviews?
- How Do You Handle Sample Discrepancies With a Manufacturer?
- Bodaq’s Perspective on Sample Evaluation and Procurement
- How Bodaq Supports Your Sample and Mockup Process
- Reference Points for Building Your Own Evaluation Protocol
- Sources
- FAQ
What Exactly Should You Request for a Sample Evaluation for Finishes?
A standard A4 swatch tells you almost nothing about how a self-adhesive film will actually read on a wall, a door, or a run of cabinetry. Pattern repeats, sheen gradients, and texture depth simply do not show up at that scale, which is why larger presentation samples of 300 x 300 mm or bigger have become the working standard for design-critical decisions. For stone, wood grain, or fabric-look finishes especially, a small chip flatters the material. A larger panel exposes it.
Your written sample request should specify:
- Minimum size: 300 x 300 mm for presentation samples, larger or bespoke for feature walls, reception desks, or anything viewed up close
- Substrate mount: request the film applied to a representative offcut (MDF, laminate, metal, drywall board) rather than a loose sheet
- Edge and corner pieces: include at least one sample with a finished edge or corner to check wrap and seam behavior
- Quantity: 3 to 5 pieces per finish, since approving from a single “hero” sample hides normal production variation
- A supplier variation statement: ask the manufacturer to confirm expected batch-to-batch tolerance for color and sheen
Most vendors can turn around free introductory samples within a day or two, with larger presentation pieces or custom panels available on request. Build that lead time into your schedule now, because a rushed sample request is the single most common reason teams end up approving the wrong finish under deadline pressure.
How Do You Test Samples for Lighting, Sheen, and Durability?
Lighting decides most finish disputes before installation even starts, so standardizing it is not optional. Run every evaluation through the following sequence.
- Set a warm scene around 2700 to 3000K to see how the finish reads in residential or hospitality lighting.
- Set a neutral scene around 3500 to 4000K, ideally with a high CRI light source, to catch true color and texture detail.
- Add a contextual scene that mirrors the actual space, whether that’s north-facing daylight, a dim evening ambiance, or task lighting near a counter. Evaluating under one contextual condition alongside your controlled scenes catches how the finish interacts with adjacent materials and fixed elements.
- Record the CCT and CRI used for each scene so future disputes get resolved against a documented condition rather than someone’s memory.
- Check for metamerism by viewing the same sample under all three scenes. A finish that reads warm gray under LED and cool blue under daylight is a metamerism problem, not a bad batch.
- Assess sheen hierarchy and texture conflict at the actual viewing distance. A high-gloss stone-look finish next to a matte trim can look intentional up close and jarring from across a lobby.
- Check pattern repeat at that same distance, since a repeat that’s invisible on a small chip can become obvious across a full wall.
- Run simple durability checks on sacrificial pieces: a light scratch test, an abrasion pass with a clean cloth, and a cleanability check using the product’s recommended cleaning method.
Pro Tip: Photograph every sample under every lighting scene and timestamp the files. When a client asks six weeks later why a color looks different than they remembered, you’ll have proof of what they actually approved.
Insiders in the field consistently document CCT, CRI, and beam type during review sessions for exactly this reason: it turns a subjective argument into a factual one.
When Do You Need a Mockup Instead of a Swatch?
Not every finish needs a full mockup, but skipping one on the wrong project is how small color mismatches become expensive change orders. Use a risk-based rule: require a mockup whenever a finish is going on a high-visibility surface, involves multiple trades coordinating around it, or has tight tolerances for joints and transitions.
A mockup only earns its keep if it’s built the way the real installation will be built:
- Use the actual project substrate, not a generic test board
- Use the specified adhesive and, where possible, the actual installer who will do the final work
- Include real-world conditions like corners, transitions, and any penetrations for hardware or outlets
- Review under the same lighting scenes established during sample testing
Experts who study project failures point out that mockups function as controlled experiments, not formalities, and that skipping them on high-risk assemblies is a leading cause of late-stage rework. That framing matters for hospitality and commercial fit-outs especially, where a feature wall or reception surface gets more scrutiny than almost anything else in the space.
Your mockup review checklist should confirm flatness, joint control, edge quality, how the finish interacts with the lighting plan, and whether it still reads clearly at full scale rather than sample scale. Require sign-off photos taken under the agreed lighting conditions before anyone moves forward with procurement.
What Should You Check Before Running an Adhesion Test?
A finish that looks perfect and adheres poorly is worse than a finish you never approved, because the failure shows up after installation, not before. Before you place a single test strip, confirm the substrate meets these conditions:
- Nonporous and structurally sound: no flaking paint, no unsealed drywall, no active moisture
- Clean: free of dust, oils, or release agents that block adhesive contact
- Dry: humidity and recent paint or sealer cure times both affect bond strength
- Correctly primed or sealed: some substrates need a primer removed, others need one applied, depending on the film’s adhesive system
- Edges prepared: chamfered or deburred where the film will wrap a corner
Once the substrate is ready, run the adhesion test directly on it. Adhesion-test kits exist specifically to catch problems from paint cure, sealers, or low surface energy materials before they turn into a full installation failure. Apply the test strip, allow the manufacturer’s recommended set time, then pull test and record the result. If it fails, clean the surface, re-prime if needed, allow proper cure time, and retest before moving forward.
One detail specifiers overlook constantly: a passing result on one wall does not validate the wall next to it. Every distinct substrate and paint or primer system needs its own test, even within the same room, because a successful test on a board sample never guarantees success on the final surface. Archive every test result and remediation step before procurement moves forward. That paper trail is what protects you if a warranty question comes up eight months after installation.
How Do You Set Acceptance Criteria and Score Sample Results?
Acceptance criteria only work if you define them before you look at a single sample, not after you’ve already fallen in love with one. Set measurable limits for color tolerance, acceptable sheen variation, visible chips or seams, and any surface defect that would be a dealbreaker at full scale.
A simple scoring sheet keeps the review honest and gives every stakeholder the same language:
| Checklist item | OK | Adjust | Replace |
|---|---|---|---|
| Color match to approved reference | Within tolerance | Minor drift, retest under contextual light | Outside tolerance, reject batch |
| Sheen consistency across pieces | Uniform | Slight variation, monitor | Visible mismatch |
| Seam and edge visibility | Not visible at viewing distance | Visible up close only | Visible at normal distance |
| Surface defects (bubbles, scratches) | None | Minor, isolated | Recurring across samples |
Require sign-off photos under the lighting scenes you already standardized, and decide up front whether an approved mockup becomes the control benchmark for the installed work, gets incorporated directly into the finished project, or gets removed once sign-off is complete.
What Defects Show Up Most Often During Finish Evaluation?
Color inconsistency tops the list, and it rarely shows up as an obvious mismatch. It’s usually a subtle shift between the sample you approved and the batch that arrives on site, often invisible under office fluorescents but glaring under a client’s actual lighting. Texture flaws come next: a wood-grain or stone-look film that felt convincingly deep on a small chip can read flat or repetitive once it’s spread across a full wall.
Watch for these recurring issues during every review:
- Pattern misalignment at seams, where a repeat that looked seamless on a small sample suddenly breaks visibly at scale
- Sheen banding, where light hits adjoining panels differently because of installation angle or substrate variation underneath
- Edge lifting or bubbling on test pieces, often an early warning sign of an adhesion problem rather than a cosmetic one
- Surface contamination, like fingerprints or dust trapped under the film during application, which becomes permanent once installed
- Color drift between production batches, which is exactly why ordering multiple sample pieces instead of one hero piece matters so much
None of these defects are dealbreakers if you catch them at the sample stage. They become expensive only when they surface after full installation, which is the entire argument for slowing down at the review stage instead of speeding through it.
What Tools Do You Actually Need for Sample Evaluation?
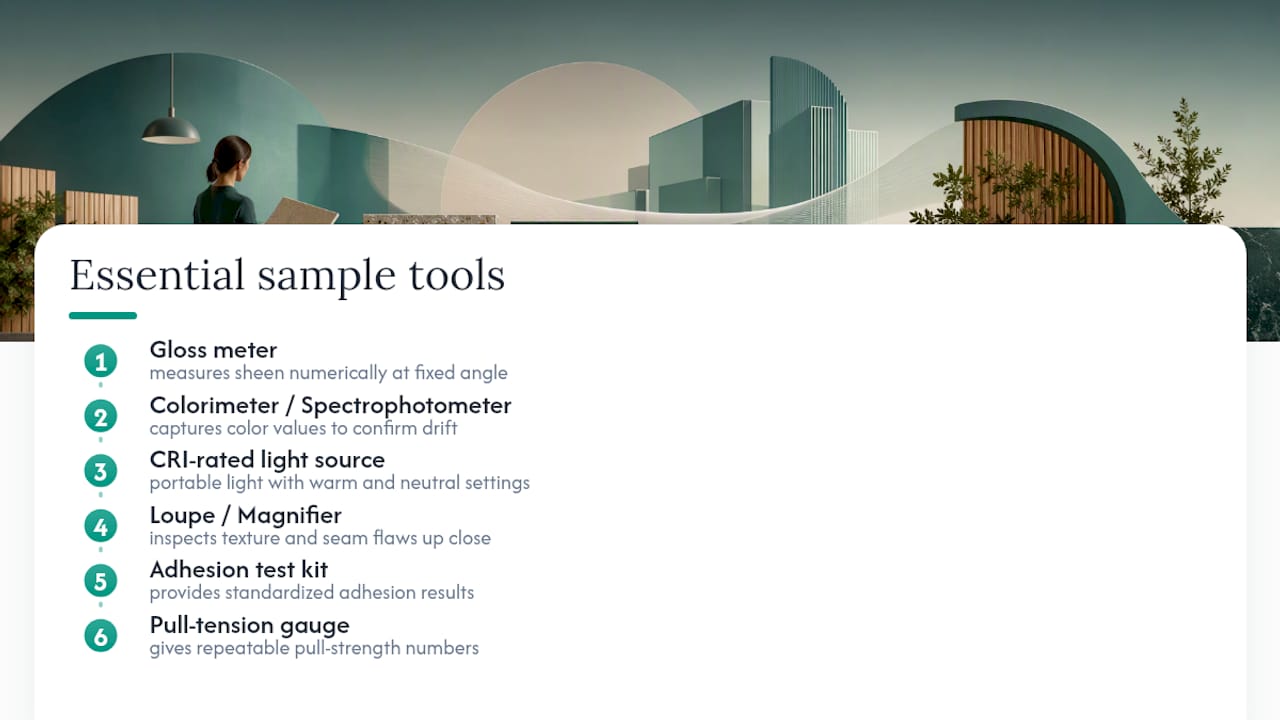
You don’t need a materials lab to run a credible finish evaluation, but a few instruments turn subjective impressions into defensible data. A gloss meter measures sheen numerically at a fixed angle, which matters when a client insists two samples “look the same” and you need a number to prove otherwise. A colorimeter or spectrophotometer captures color values that survive an argument about screen calibration or lighting mood, and it’s the fastest way to confirm whether a new batch genuinely drifted from the approved reference.
Beyond instrumentation, a CRI-rated light source you can move between warm and neutral settings replaces guessing about how office lighting compares to a finished space. A simple loupe or magnifier helps catch texture flaws and seam quality that are invisible at arm’s length but obvious once installed. For adhesion, the test kit itself, paired with a basic pull-tension gauge, gives you a repeatable number instead of a subjective tug.
None of this needs to be expensive or elaborate. A gloss meter and a decent CRI light source cover most film evaluation needs, and both are reusable across every future project. What matters more than the tool budget is consistency: use the same instruments, the same settings, and the same recording method every time, so results from one project can be compared honestly against the next.
How Do Temperature and Humidity Affect a Finish Evaluation?
Self-adhesive films respond to their environment more than most finish materials, and evaluating them in the wrong conditions produces misleading results. Cold rooms stiffen the adhesive and can make a film feel less conformable than it will once it reaches normal room temperature. High humidity slows adhesive cure and can produce a false negative on a pull test, making a perfectly good film look like it’s failing.
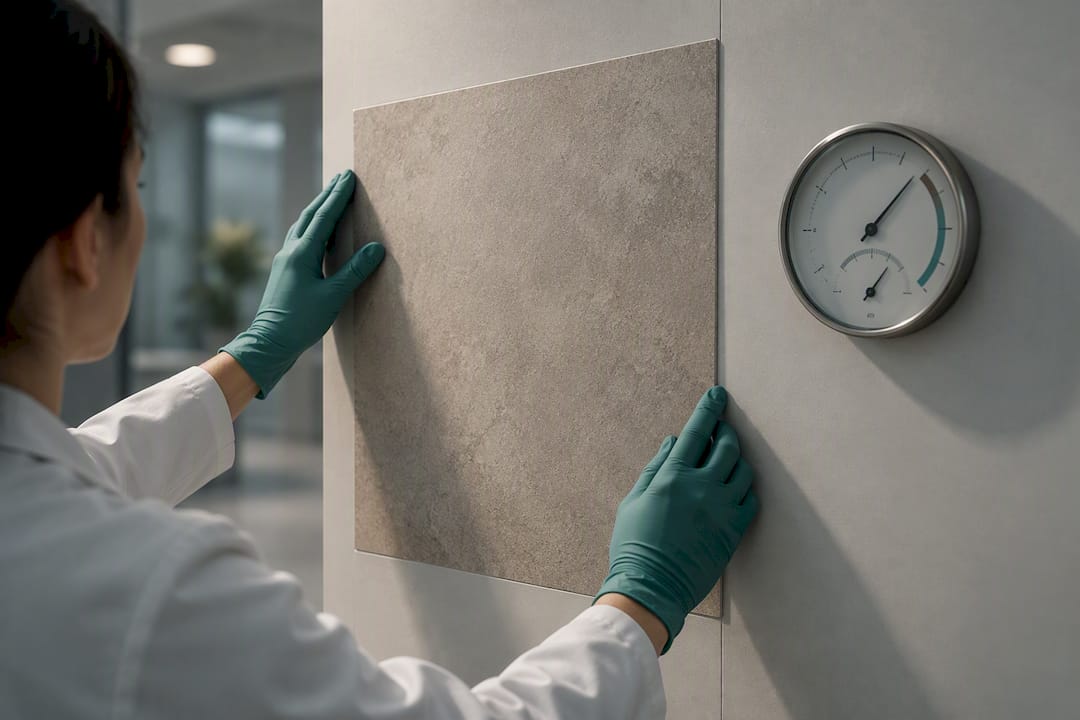
Run adhesion and durability checks at conditions close to what the finished installation will actually experience, generally standard interior temperature and moderate humidity, not a loading dock in January or a bathroom mid-renovation with wet plaster still curing. If the project’s finished environment is unusual, a commercial kitchen, a spa, a space with heavy sun exposure, test under those actual conditions rather than a generic office setting.
Temperature swings also affect how sheen and color read. A film evaluated in a cold, dim storage room can look duller than it will under a climate-controlled space with proper lighting. If you’re reviewing samples before HVAC is running in a new build, note that limitation on your documentation. A sample approved under compromised conditions is a sample that might get challenged later, and having the environmental notes on record protects the decision you made.
How Do You Keep Lighting Consistent Across Repeated Reviews?
Sample evaluation rarely happens in a single sitting. Finishes get reviewed, revised, resubmitted, and reviewed again, often weeks apart, and if your lighting setup drifts between sessions, you’re no longer comparing samples fairly.
Lock in a repeatable protocol: use the same fixtures, the same CCT and CRI settings, and the same physical location for every review tied to a given project. Write these specifics down the first time you use them, not from memory the second time. If natural light is part of your contextual scene, note the time of day and general weather conditions, since a north-facing room at 10 a.m. in overcast conditions looks nothing like the same room at 4 p.m. in direct sun.
Keep a simple lighting log alongside your sample photos: fixture type, CCT, CRI, and location for each review session. When a revised sample comes in three weeks after the first round, you pull up that log and recreate the exact conditions instead of approximating them. This is a small administrative habit, but it’s the difference between a defensible decision and a shrug when someone asks why a finish was rejected the second time but approved the first.
How Do You Handle Sample Discrepancies With a Manufacturer?
When a sample doesn’t match what was previously approved, the conversation with the manufacturer needs to be specific, documented, and fast. Vague feedback like “it looks off” gets vague responses. A report that includes your recorded CCT and CRI values, side-by-side photos under matching lighting, and the specific tolerance the new batch violated gets a useful reply.
Send the discrepancy report before installation begins, never after, since most manufacturers can rework or reissue a batch far more easily before material has shipped to a job site. Reference the original approved sample by date and photo, not by description, and ask directly whether the discrepancy falls within their stated batch variation tolerance or represents an actual production issue.
If the answer is batch variation, decide with your client whether that tolerance is acceptable for this particular application before you accept the new material. If it’s a genuine defect, ask for a replacement batch and a written explanation of what changed in production. Keep every email and photo in the same project file as your other sample documentation. That single file, built consistently from the first sample request through final acceptance, is what protects everyone when a dispute reaches a general contractor or a client months into a project.
Bodaq’s Perspective on Sample Evaluation and Procurement
Sample review and procurement get treated as separate steps too often, and that gap is where projects lose time. Their collection spans hundreds of textures and colors, which makes presentation-size samples essential rather than optional for design-critical calls. On-site adhesion testing and mockups catch problems while they’re still cheap to fix, protecting both the finish and the warranty expectations behind it. The practical fix is scheduling: order larger samples and mockup support early enough that procurement timelines never absorb the delay.
— Bodaq
How Bodaq Supports Your Sample and Mockup Process
This program offers a practical alternative to guessing from a swatch card. Where generic sample kits leave you evaluating a postage-stamp chip under office lighting, the sample program is built around the exact workflow this guide describes: free introductory samples, 300 x 300 mm presentation panels for design-critical decisions, and bespoke mockup panels for high-visibility or multi-trade assemblies.
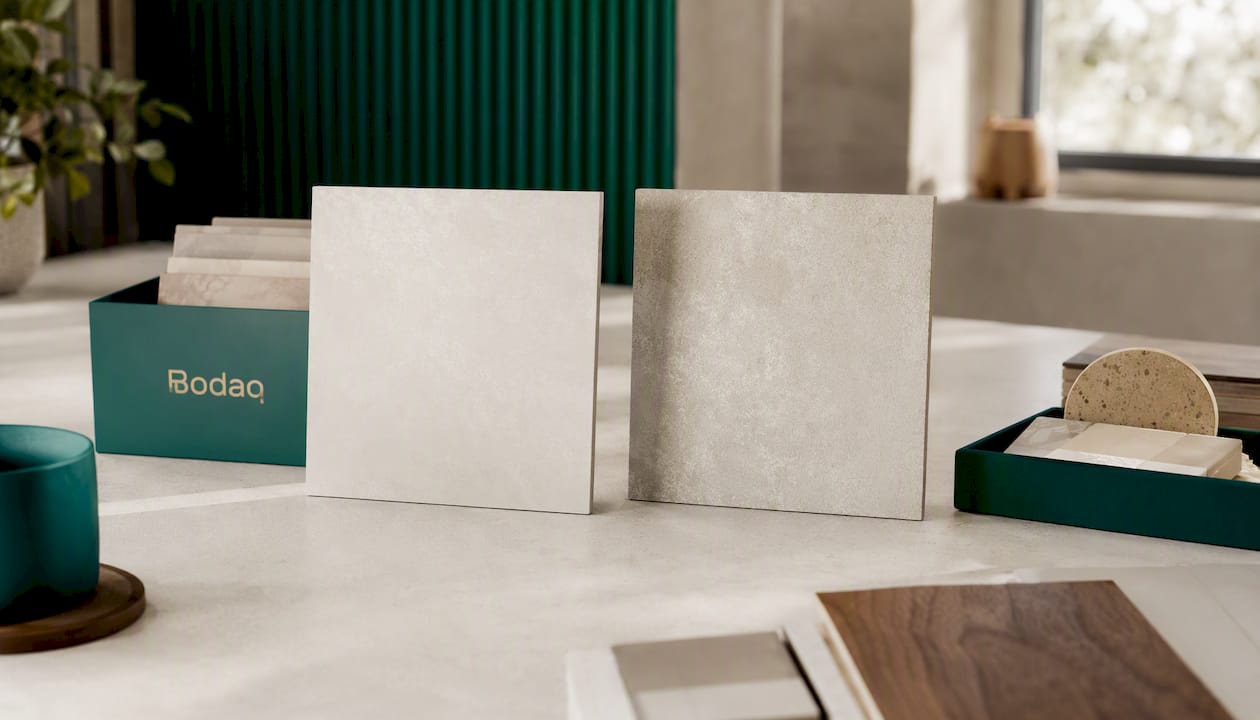
If you’re specifying a stone-look finish, Rustic Stone from the High-Performance Collection is a common starting point for evaluation, and the Easy Clean High-Performance Collection is worth requesting alongside it for any surface that needs to hold up to daily cleaning. Beyond individual finishes, the full Wood, Metal, Stone & Marble, Solid Colors, and Fabric & Leather collections give you room to compare texture and sheen side by side before you commit.
Bodaq also backs its film with certified installer training and technical support for substrate prep and adhesion testing, so the mockup you approve reflects the crew that will actually install it. Request presentation samples or a mockup consultation through the Bodaq site to keep your procurement timeline on track from the first swatch to final sign-off.
Reference Points for Building Your Own Evaluation Protocol
These sources back the specific methods in this guide and are worth pulling from directly when drafting specification language or mockup acceptance clauses.
- Sample Approval Process Best Practices for multi-condition lighting review and avoiding single-sample approval
- Pattern repeat and sample size recommendations for presentation sample sizing
- Review and quality control checklists for mockup and coordination protocols
- 3M DI-NOC adhesion test guide for on-site adhesion testing procedure
- Furniture and cabinetry sampling practices for how larger substrate offcuts reveal alignment and edge issues
Sources
- Sample Approval Process Best Practices
- Pattern repeat and sample size recommendations
- Review and quality control: sample boards, mockups and coordination checks
- Window film specification guide for architects
- 3M DI-NOC adhesion test guide
FAQ
What Size Should a Finish Sample Be for a Real Evaluation?
Request at least 300 x 300 mm for any design-critical decision, since smaller pieces often hide pattern repeat and sheen problems that only show up at scale. For feature walls or heavily viewed surfaces, ask for a bespoke panel sized closer to the actual application.
How Many Lighting Conditions Should You Test Under?
Use at least two controlled scenes, a warm setting around 2700 to 3000K and a neutral one around 3500 to 4000K, plus one contextual scene that matches the project’s real environment. Evaluating under a contextual condition alongside controlled lighting catches interactions with adjacent materials that a single lighting setup misses.
Do You Need to Test Adhesion on the Actual Wall?
Yes. A test that passes on a sample board does not guarantee success on the finished substrate, since every distinct substrate and paint or primer system needs its own adhesion test. Test directly on the project surface before full installation begins.
When Is a Full Mockup Worth the Extra Time?
Build a mockup whenever the surface is highly visible, involves multiple trades, or has tight tolerances for joints and transitions, since mockups function as controlled experiments that catch problems before they reach the full installation. Skip a mockup for low-risk, low-visibility applications where a presentation sample already gives enough confidence.
Does Bodaq Provide Presentation Samples and Mockup Support?
Bodaq offers free introductory samples along with larger 300 x 300 mm presentation panels and bespoke mockup panels for design-critical projects. Pricing for film collections is available through the Bodaq catalog, and technical support for adhesion testing and substrate prep is available through certified training resources.