
A successful wall wrap installation starts with a clean, moisture-checked substrate and a plumb or laser-guided line for the first panel. From there, the sequence holds steady: acclimate the film, hinge and squeegee outward from the center, overlap seams with a double-cut, and post-heat every edge before trimming. A moisture meter and the right primer, such as Bodaq Water-Based Primer, catch the two problems that ruin most jobs before they start.
TL;DR:
- The first panel must be mounted with a plumb or laser line aligned to the wall, not the wall’s corners or trim, to ensure a straight final result.
- Use moisture meters and appropriate primer to prevent adhesion issues caused by wall moisture or porous surfaces before installing the film.
- Overlap seams by half an inch and execute double cuts with a fresh blade to create nearly invisible joints and prevent seam gapping over time.
- Proper handling of outlets and obstacles involves cutting with power off, tucking edges behind fixtures, and gradually heating corners to avoid stretching or color shifts.
- Removing the wrap requires gradual heating and peeling at a low angle to avoid damage, with residue cleaned using isopropyl alcohol and a lint-free cloth.
Table of Contents
- Tools, Materials, and Site Prep for Wall Wrap Installation
- How Do You Install the First Panel and Work Through Multiple Panels?
- How Do You Handle Seams, Corners, and Obstacles Like Outlets?
- Finishing, Post-Heat, and Cleanup
- Common Mistakes and Troubleshooting Wall Wrap Problems
- Bodaq Installation Resources and Product Considerations
- Removing or Replacing a Wall Wrap
- When to DIY a Wall Wrap and When to Call a Pro
- How Bodaq Can Help With Your Wall Wrap Project
- Sources
Tools, Materials, and Site Prep for Wall Wrap Installation
Every reliable wall wrap installation depends on the same short list of tools showing up on-site, prepped and ready. Skip one and you’ll feel it during application, not before.
- Felt-wrapped squeegee — pushes air out without scuffing the film’s finish
- Heat gun — softens the vinyl for stretching, seams, and post-heat bonding
- Utility knife with fresh blades — swap often; a dull blade drags and tears
- 4-foot level or laser line — sets your plumb reference before panel one goes up
- Moisture meter — confirms the wall is dry enough to bond
- Squeegee felt tip, application tape, and a lint-free cloth — for seams, hinging, and final cleaning
Surface prep is where most failures actually begin. Patch and sand any repairs to a smooth level 4 or 5 finish, since textured paint, brick, or cinder block generally won’t hold self-adhesive vinyl without a skim coat first. Fresh paint needs several days to cure, and residual moisture should read low before you commit to a panel. If the wall reads high or the paint is untested, prime it: Water-based primer gives raw or porous drywall the even, tacky surface the adhesive needs to grip.
Printed film generally needs a few hours to up to two days to acclimate to room temperature before hanging, and the room itself should sit in a stable, moderate humidity range rather than swinging hot and cold. Stage panels flat, labeled in order, and use a stable ladder or low scaffold rather than a chair.
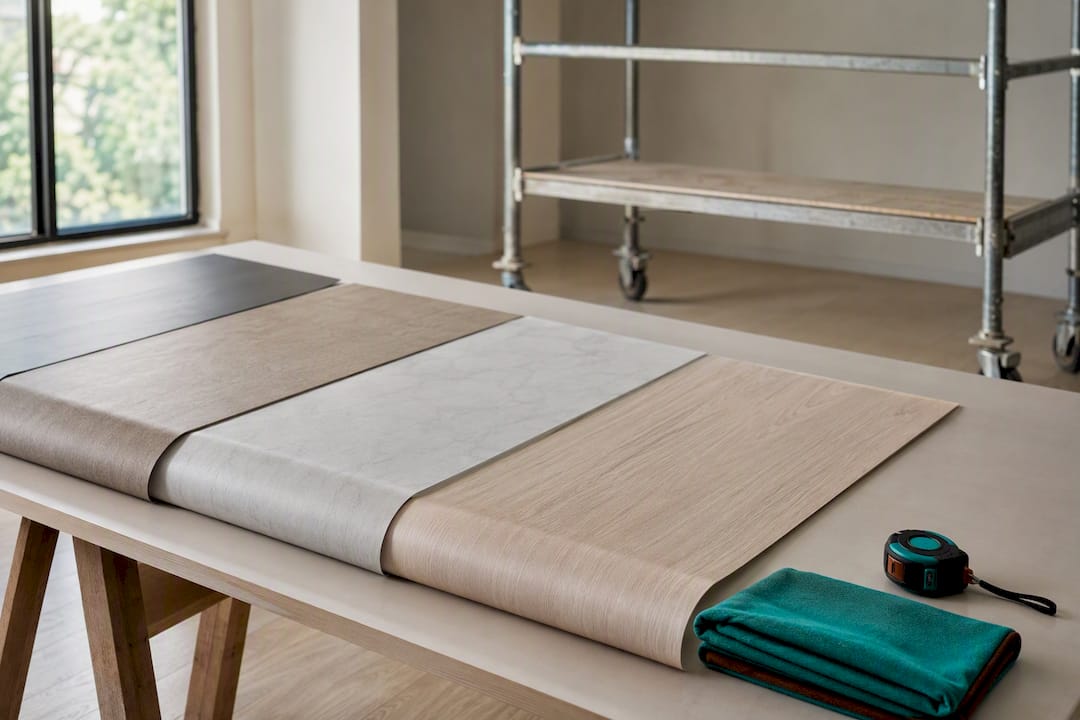
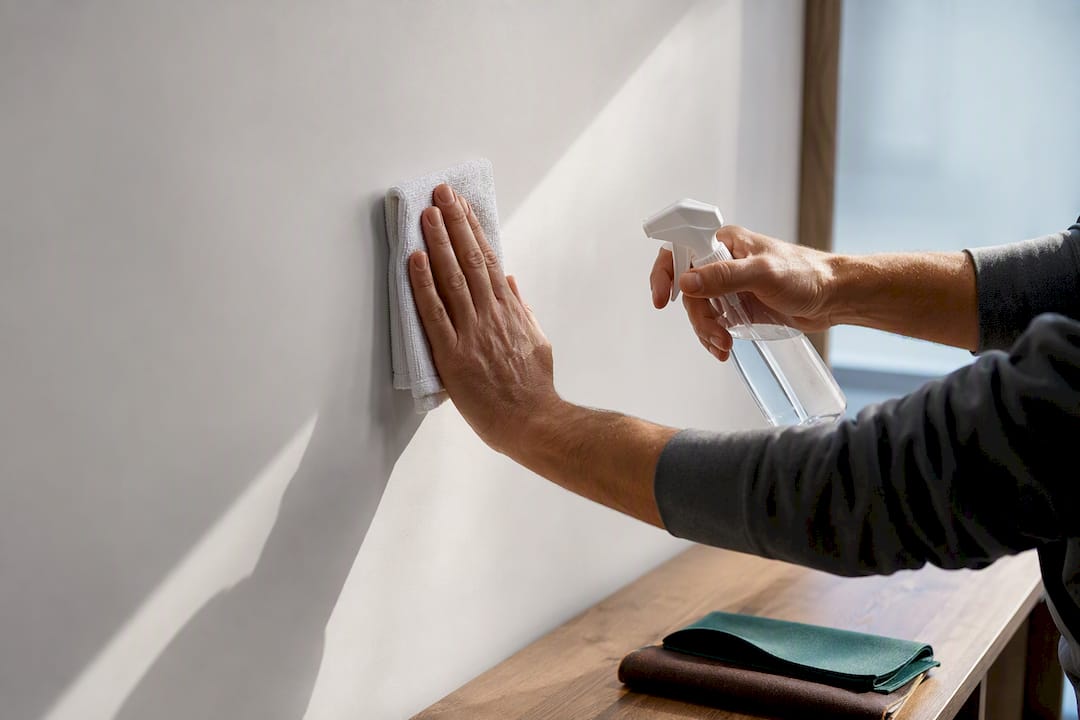
Pro Tip: Wipe the wall with an isopropyl alcohol and water solution right before hanging, then give it time to dry fully. Skipping this step leaves oils behind that quietly undermine adhesion for months.
How Do You Install the First Panel and Work Through Multiple Panels?
The first panel decides whether the entire wall reads straight or slightly off. Manufacturer guides consistently point to a plumb line or laser as the reference point, because every panel after it aligns off that first edge, not the wall’s corner or trim, which is rarely true square.
Here’s the sequence that holds up on job after job:
- Measure the wall and mark your plumb line or set a laser reference.
- Confirm acclimation — the film should already be sitting at room temperature.
- Position the panel dry against the line to check fit before peeling any liner.
- Hinge the top by folding a few inches of liner back and taping it in place.
- Peel and tack a small section at the top corner to anchor the panel.
- Squeegee center-out in overlapping strokes, working air toward the edges, not trapping it.
- Pull liner progressively as you work downward, never stripping the whole sheet at once.
- Overlap the next panel by roughly a half inch onto the previous one.
- Double-cut the seam through both layers with a fresh blade.
- Trim excess at outlets, baseboards, and ceiling lines.
- Post-heat edges and seams before final trim.
On multi-panel jobs, number and label each panel before cutting so the sequence matches the wall layout, not the order they came off the roll. For a panel wider than your reach, use temporary strips of application tape to hold the loose half in place while you work the anchored side, a trick that keeps a large sheet from folding onto itself mid-install. A felt-wrapped squeegee and firm, overlapping strokes remain the standard for pushing air outward without scuffing the graphic layer, and it’s the single technique that separates a smooth wall from one with visible ghosting under certain light.
Overlaps of about half an inch, finished with a double-cut, produce a seam that reads as a single continuous surface rather than two sheets butted together.
How Do You Handle Seams, Corners, and Obstacles Like Outlets?
Seams are where craftsmanship shows. The double-cut method, cutting through both overlapping layers with a fresh blade and pulling the top strip away, leaves a join that’s nearly invisible once pressed down, because both edges came from the same cut line. Butt seams, where two panels meet edge to edge with no overlap, tend to shrink apart over months as the film relaxes, so most installers avoid them entirely on visible walls.
For outlets and switch plates, always kill power at the breaker first, remove the cover plate, and cut an X across the opening before folding the flaps back and trimming flush. Tucking the cut edge slightly behind the outlet box, rather than leaving it exposed on the wall face, gives a cleaner line once the cover goes back on.
- Run seams vertically wherever possible; horizontal seams at eye level draw more attention
- Reinstall outlet covers only after the film has fully bonded and cooled
- Heat corners and channels gradually across a wider area instead of one hot spot, which limits softening and color shift while the film stretches into the profile
- Save your tightest double-cuts for the most visible sightline in the room
Pro Tip: Practice your double-cut on a scrap piece before touching the actual seam. The motion is fast and permanent, and there’s no undoing a slipped blade on the finished wall.
Finishing, Post-Heat, and Cleanup
Post-heating locks in adhesion at the edges and overlaps, but temperature control matters. Overheating causes visible color shift or softens the film past the point of a clean edge, so work in short passes and let the material rest before final trimming.
- Heat edges and seams evenly, then wait a few minutes before trimming for a crisp line
- Pull application tape only after the panel has fully bonded, never mid-install
- Press edges firmly with the squeegee’s edge or a roller once heat has released
- Clean the finished surface with a soft, lint-free cloth; skip harsh solvents that can dull the finish
- Photograph any lifted edge or bubble immediately, since documenting issues early makes warranty claims far simpler later
A controlled post-heat step is small on paper, but it’s the difference between a wall that holds for years and one that starts lifting at the seams within a season.
Common Mistakes and Troubleshooting Wall Wrap Problems
Most installation failures trace back to prep, not application. Before blaming your squeegee technique, check whether the wall was dry, clean, and smooth enough in the first place.
- Air bubbles: puncture with a pin and re-squeegee outward; if it’s a large trapped pocket, reheat gently and reapply
- Edge lift: often means primer was skipped on porous drywall; go back with Bodaq Water-Based Primer on the next panel and post-heat the lifted edge now
- Adhesion failure across a whole panel: usually a moisture or oil problem on the substrate, not a bad roll of film; replace the panel rather than fighting it
- Persistent seam gapping: re-cut and reheat locally rather than tearing out the full run
Pro Tip: Test a small sample area on the actual wall before committing to the full room. It costs you fifteen minutes and can save an entire roll of film.
If a defect traces back to the material itself, a factory flaw or a batch inconsistency, stop and contact the manufacturer for warranty support rather than reworking it repeatedly on-site.
Bodaq Installation Resources and Product Considerations
Bodaq’s self-adhesive film is engineered to stretch around curves and corners without the memory-retention issues that make some stiffer vinyl fight back mid-install, which is a real advantage on paneled walls, columns, and trim details. Pairing it with Water-based primer on porous or previously painted drywall gives the adhesive a consistent surface to grip, rather than guessing whether an old paint job will hold.
Before starting a full room, walk through Bodaq’s tools checklist and technique guide, which covers the exact squeegee and blade setup Bodaq recommends for its film line. If you’re weighing finish options against other wall treatments, the comparison of interior wall finishing materials lays out where film outperforms paint, wallpaper, or paneling on maintenance and turnaround.
- Request a physical sample panel before ordering a full roll
- Test the sample against your actual wall’s texture and lighting conditions
- Reach out to the dealer network if you need bulk pricing or certified installer referrals
Removing or Replacing a Wall Wrap
Removal difficulty depends heavily on how the film was installed and how long it’s been up. A properly primed, correctly applied wrap should still come off in controlled strips rather than shredding, but expect more resistance the longer it’s been bonded and the warmer the room has run over that time.
Start by warming the surface with a heat gun on a low setting, working in sections rather than the whole wall at once. Heat softens the adhesive enough to peel the film back at a low angle, close to the wall rather than pulling straight out, which reduces the chance of tearing paint or drywall paper off with it. Work slowly along one edge, reheating as you go, rather than yanking a large section that’s cooled and reset.
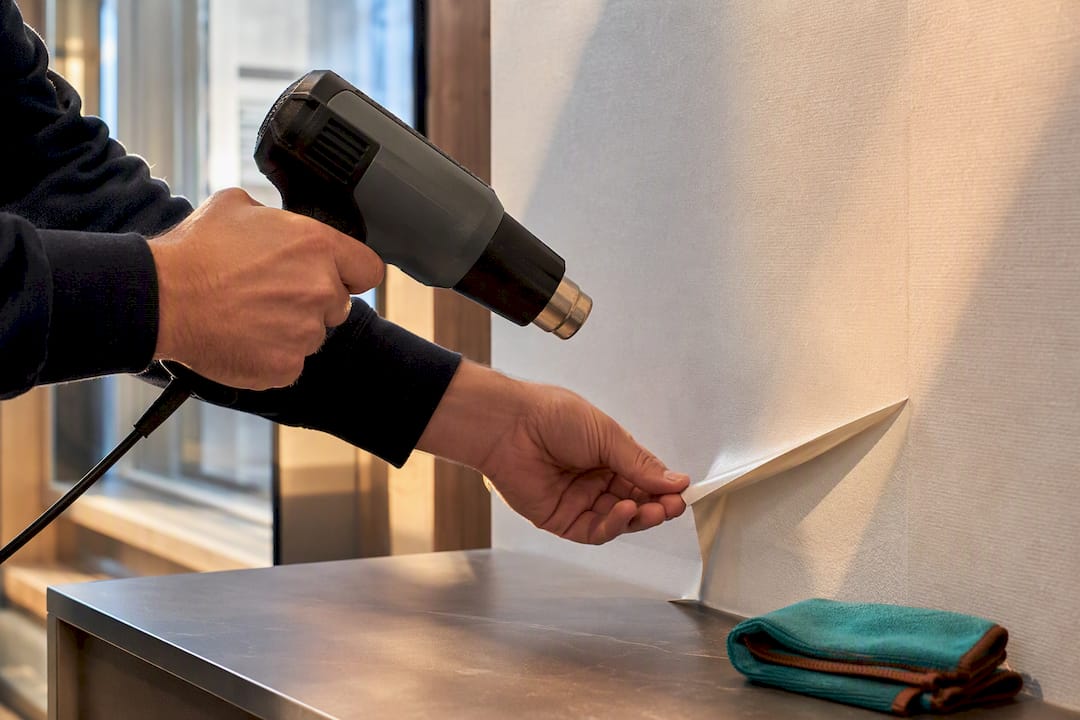
Adhesive residue left behind after peeling usually responds to an isopropyl alcohol solution and a lint-free cloth, the same combination used to clean the wall before the original install. Avoid aggressive scraping on drywall paper, since gouging the substrate creates more repair work than the residue itself.
Skipping this step because “it’s just a replacement” is one of the more common reasons a second install fails faster than the first one did. If sunlight or HVAC exposure caused premature fading or lifting the first time around, that’s worth addressing with a different film permanence or adhesive choice before the new panel goes up, not after.
When to DIY a Wall Wrap and When to Call a Pro
Scale, texture, and visibility drive this decision more than confidence does. A single accent wall in a low-traffic hallway is forgiving territory for a careful DIY attempt. A twenty-foot lobby wall with high ceilings, heavy obstacles, or a textured finish that needs skim-coating is a different project entirely, and warranty terms on commercial jobs often assume certified installation anyway.
Run a test panel on an inconspicuous section first, always. If the seams disappear and the edges hold after a few days, you’ve got your answer either way.
— Bodaq
How Bodaq Can Help With Your Wall Wrap Project
Getting from a bare wall to a finished, durable surface comes down to starting with the right materials, and Bodaq’s catalog is built around exactly that. Water-based primer handles the surface prep step that most installation failures trace back to, giving porous or previously painted drywall a consistent base before film goes up.
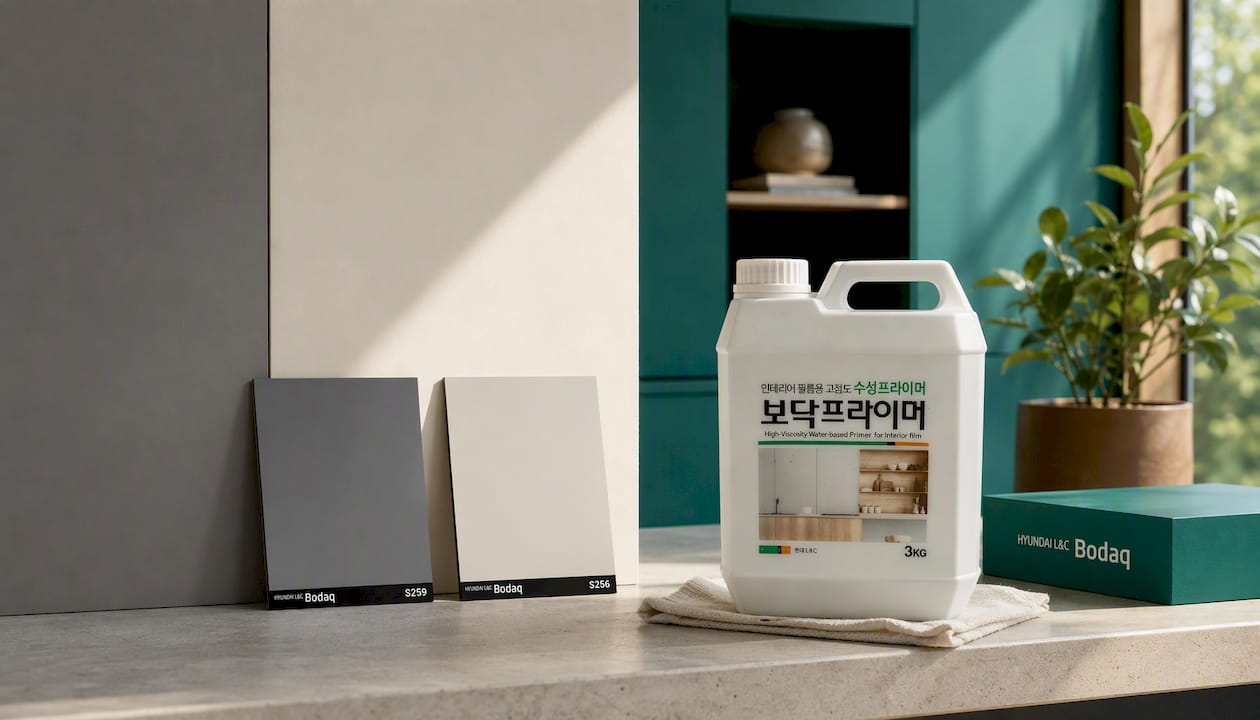
For the color itself, two solid options cover a wide range of typical rooms: Warm Alabaster from the Solid Color Collection works well in spaces that need a soft, neutral backdrop, while Slate Grey from the Solid Color Collection suits accent walls or commercial spaces looking for more contrast against trim and fixtures. Both stretch and apply using the same techniques covered throughout this guide.
If you’re weighing wrap details around doorways and trim, this practical guide to interior door framing is worth a look before you cut around any frame. Request a sample panel, download Bodaq’s install guide, or reach out through the dealer and certified installer program to get project-specific guidance before you order a full roll.
Sources
- Wall Wrap Installation Complete Guide — Florida Car Wrap
- Installing large interior wall graphics — Arlon installation guide (PDF)
- WallWrap install and print instructions — DreamScape (PDF)