An Example of UMI Hologram Pattern Usage.
Table of Contents
Choosing The Pattern to Wrap a Shelf.
You have already read about new collections and patterns of the interior vinyl films available in the new Bodaq Catalog 2023. If not, you should check it out by the link – Bodaq New Catalog’23: What’s New? In the blog post, we mentioned a shiny addition to the Metal Collection – Hologram patterns. In this blog, we will show you how easy it is to wrap a surface with one of the Hologram patterns – UMI05 Ice Queen.

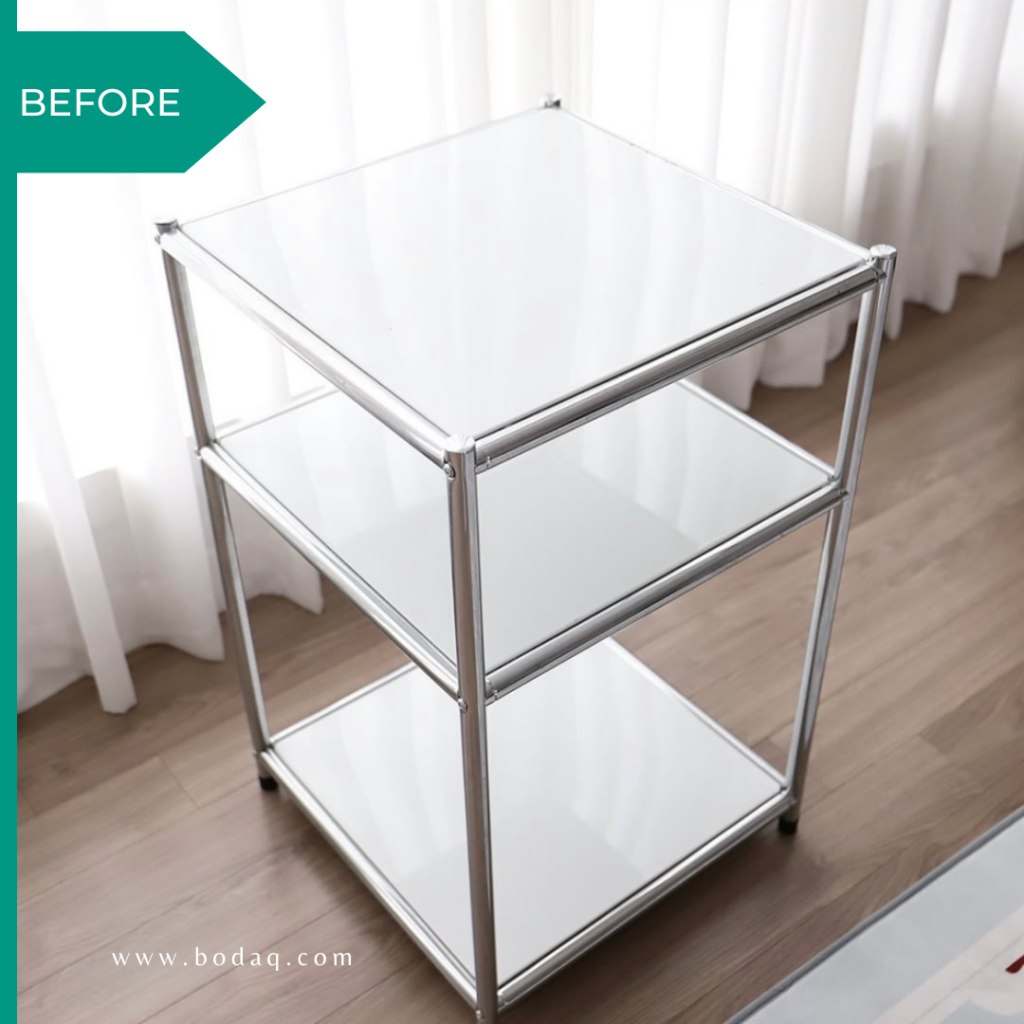
The Shelf Before.
So, here is a plain shelf, like any other shelf you can find in a store. It can stand in the corner and perfectly perform its function – hold stuff. But be completely unnoticeable; if this is what you want – perfect!
On the other hand, we can suggest an update that will change the look of the shelf and make it a stand-out point in the room. If this is what you want – keep reading. We will show you how to wrap a shelf with Bodaq Interior Film.
Preparation.
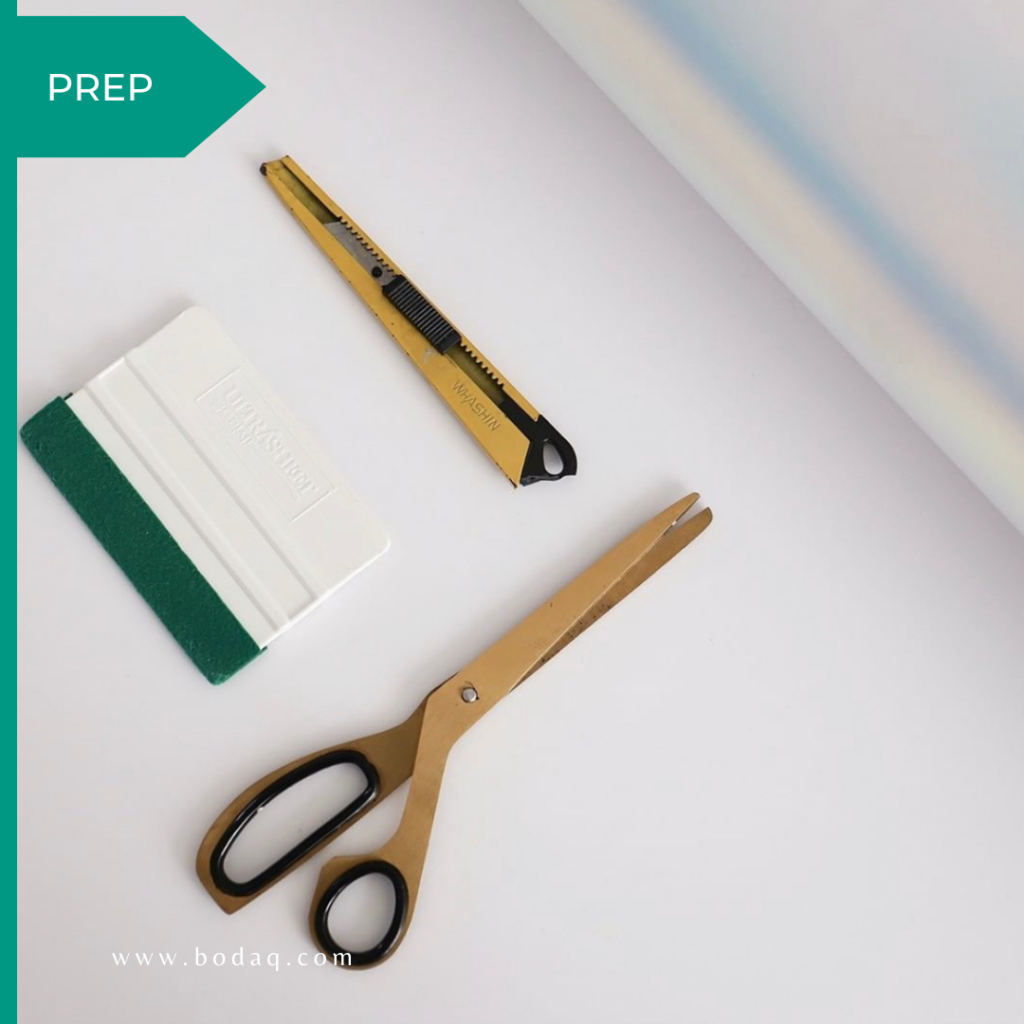
To start, we decide which pattern and tools to use during the shelf refinishing. As mentioned earlier, we opt-in with the new UMI05 Ice Queen pattern from the new Hologram series. If you are unsure which tools to use, review the Tools to Install Bodaq Film blog.
As a part of the preparation, we also have surface smoothing, cleaning, and priming. In this case, the shelves were smooth, so we cleaned them to remove any particles. The priming was not necessary for the flat surfaces. But we paid more attention to the edges and corners for better adhesion.
Step 1. Cut.
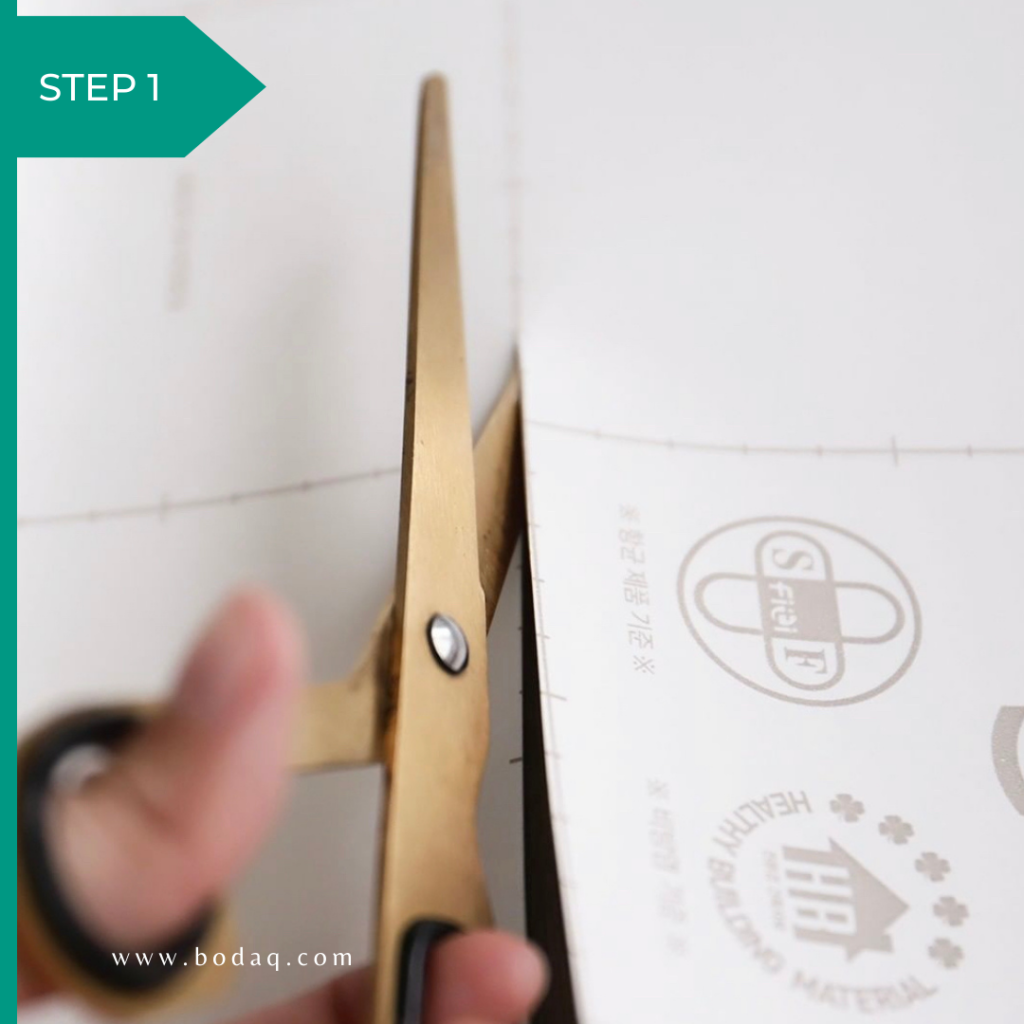
After deciding which surfaces to wrap, measure them precisely. Then cut the film to your measurements. Always leave some allowance to give space for the surface wrapping.
Step 2. Wrap.
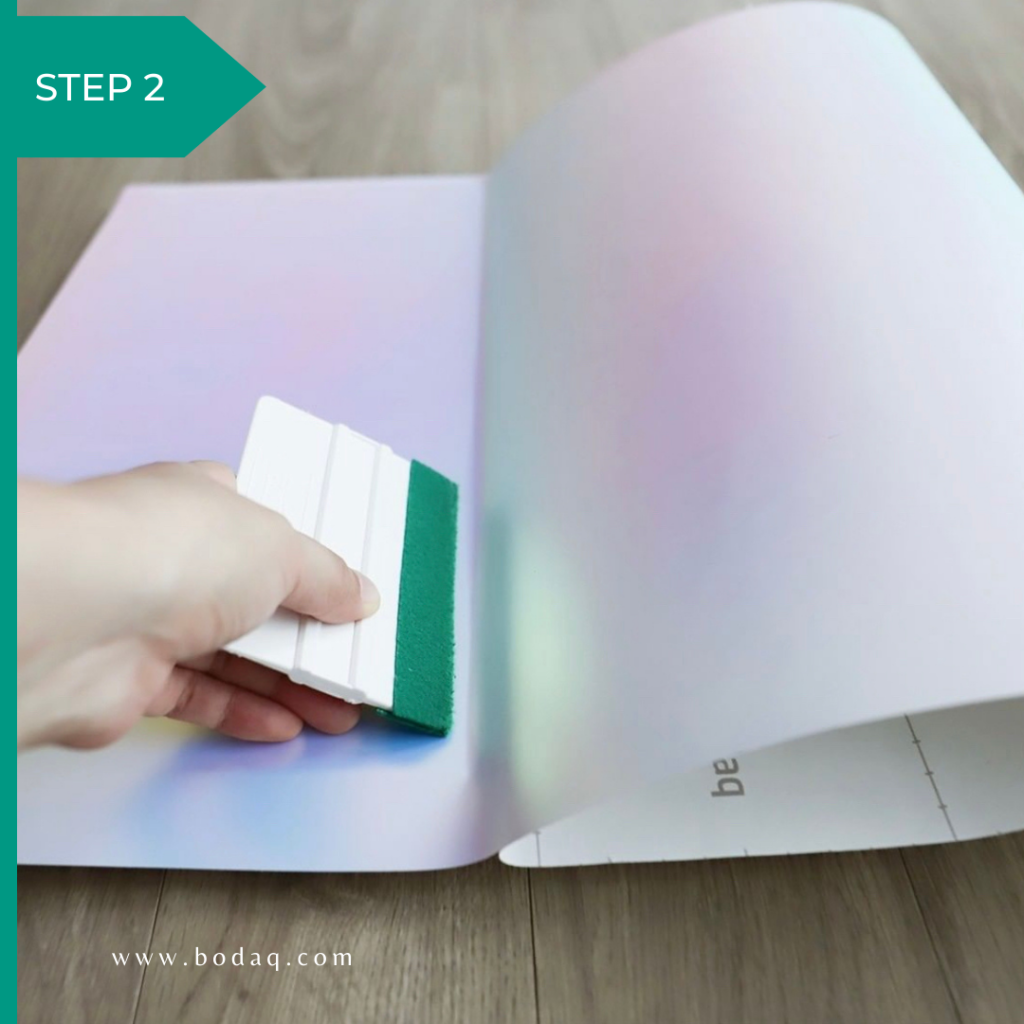
In the case of the shelf, the film installation is easy. Release the backing paper, apply the film to the surface, and spread it with the squeegee.
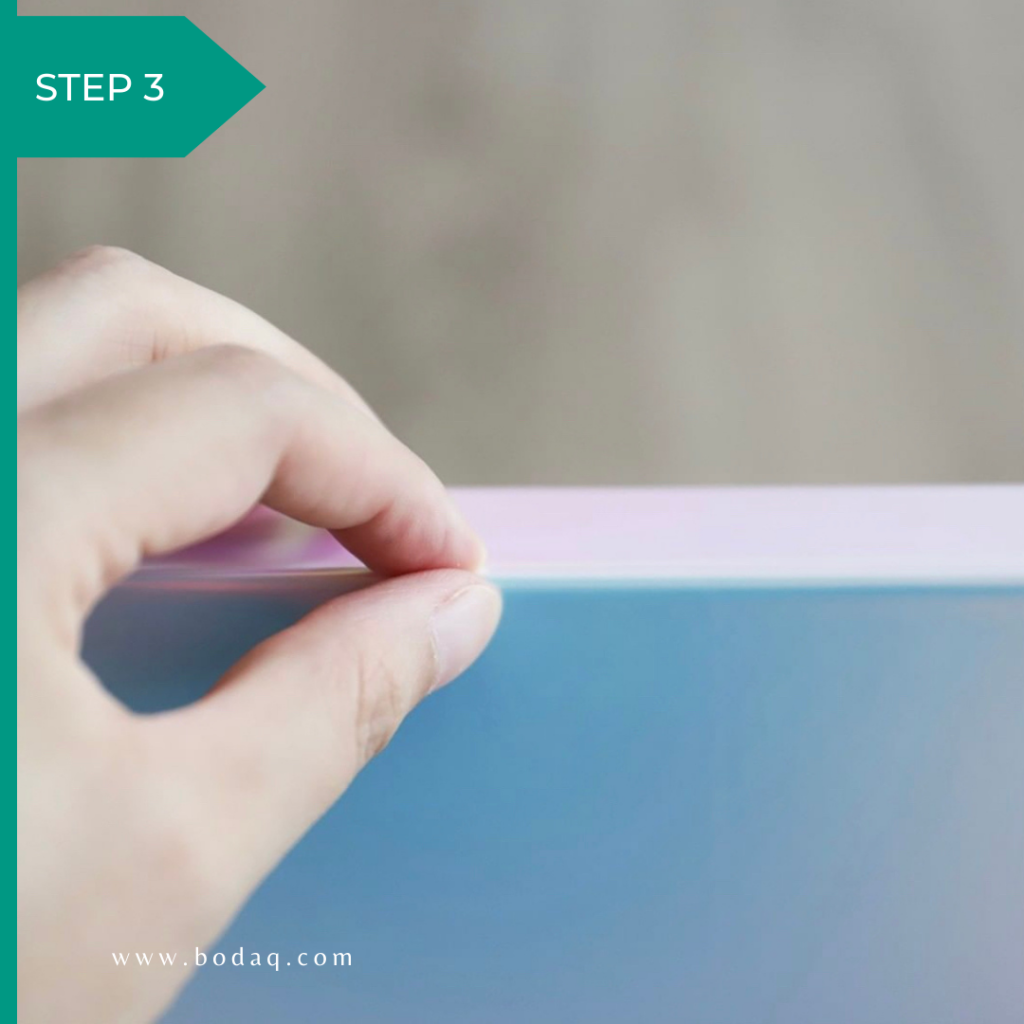
Step 3. Edges.
Then, carefully bend the film to wrap the edges. Make sure the film sticks to the entire edge length.
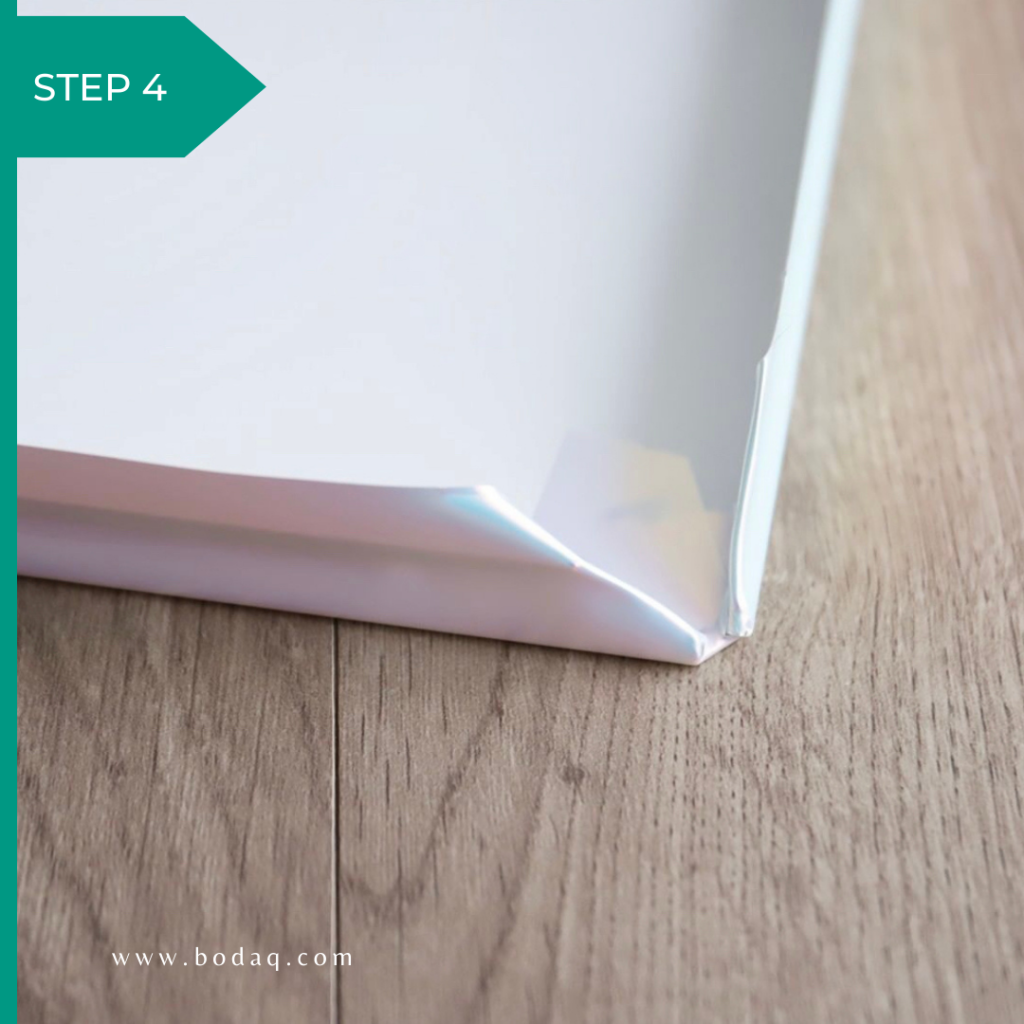
Step 4. Corners.
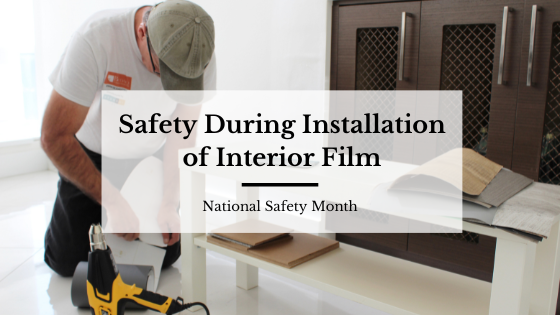
Corners wrapping is a bit more complicated and requires some skills and experience. Be careful while using an Exacto knife. This seemingly safe tool can do some damage. Remember, safety is important during installation.
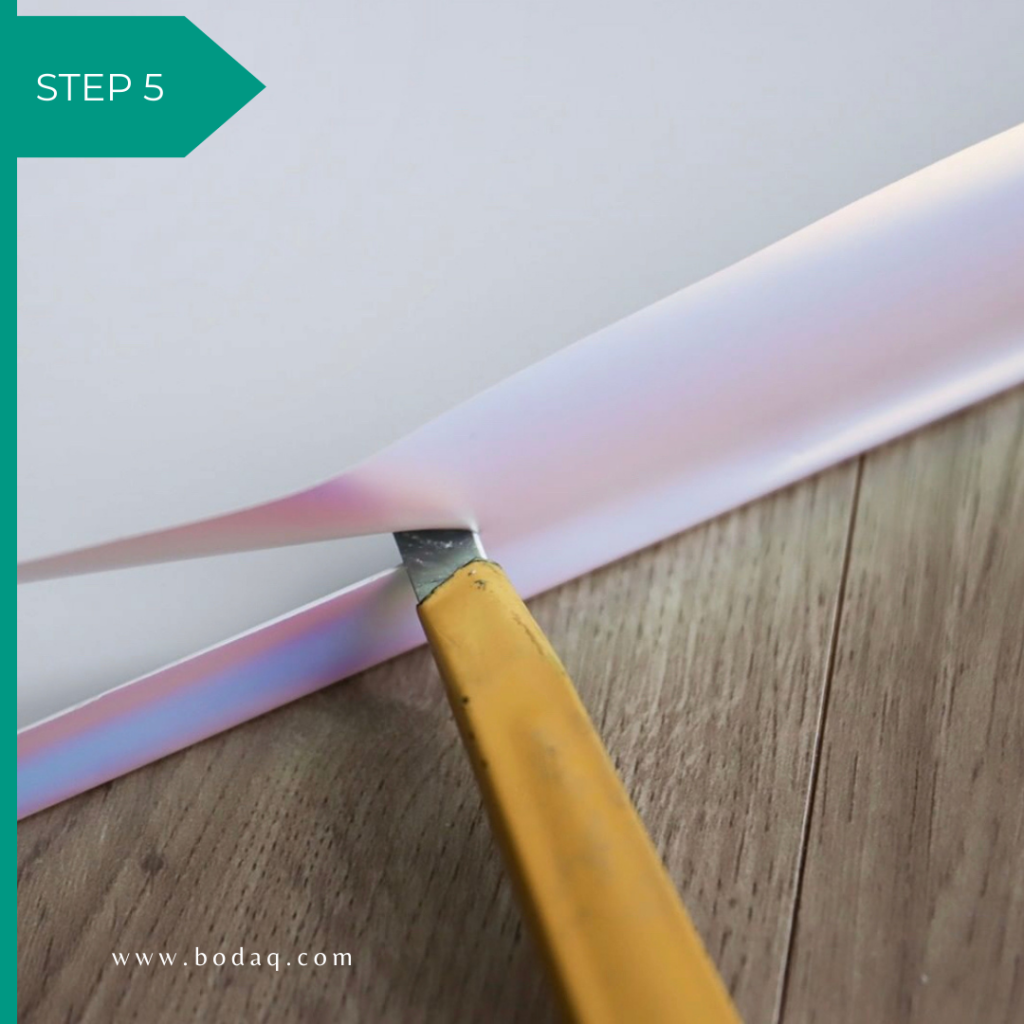
Step 5. Remove excesses.
It is the step where you can cut off all the remaining excess film that can be in the way of the perfect installation result. Use your knife under a 45-degree angle for a smooth cut.
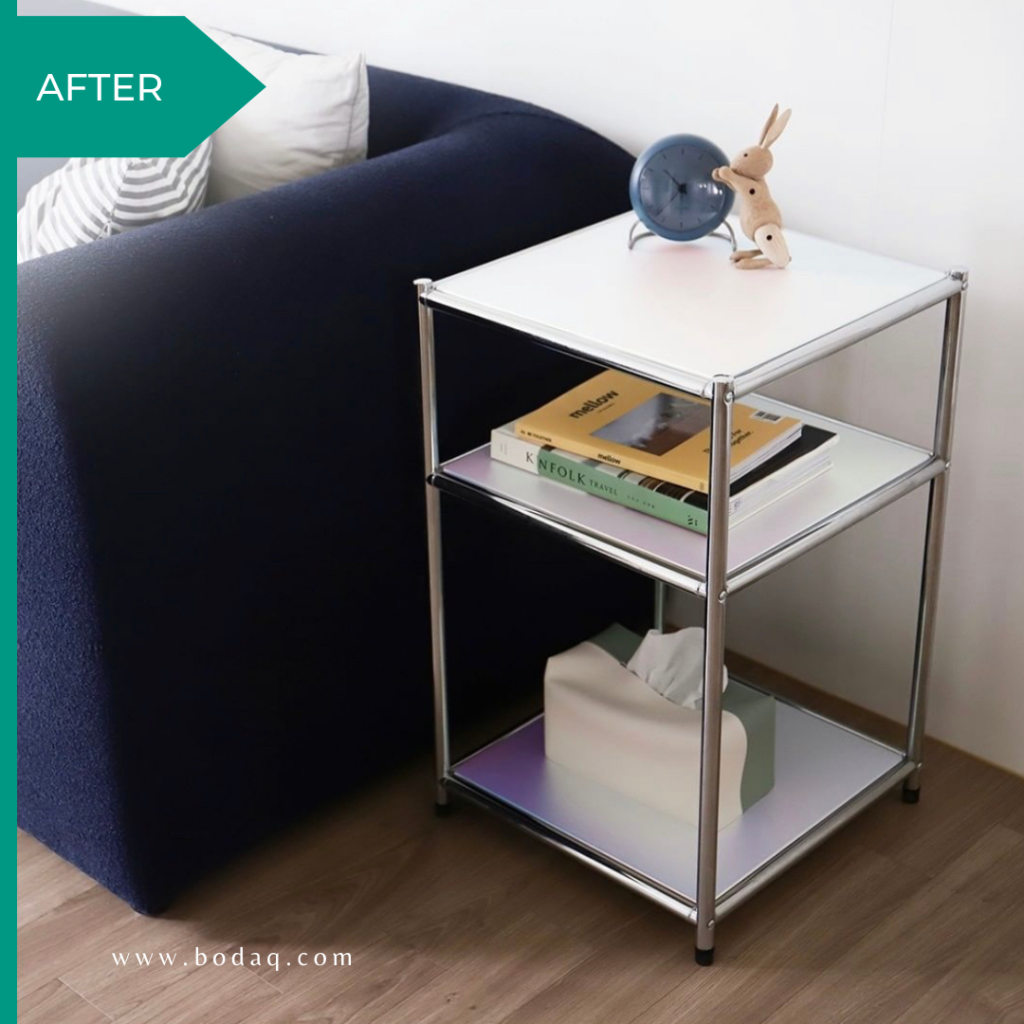
The Shelf After.
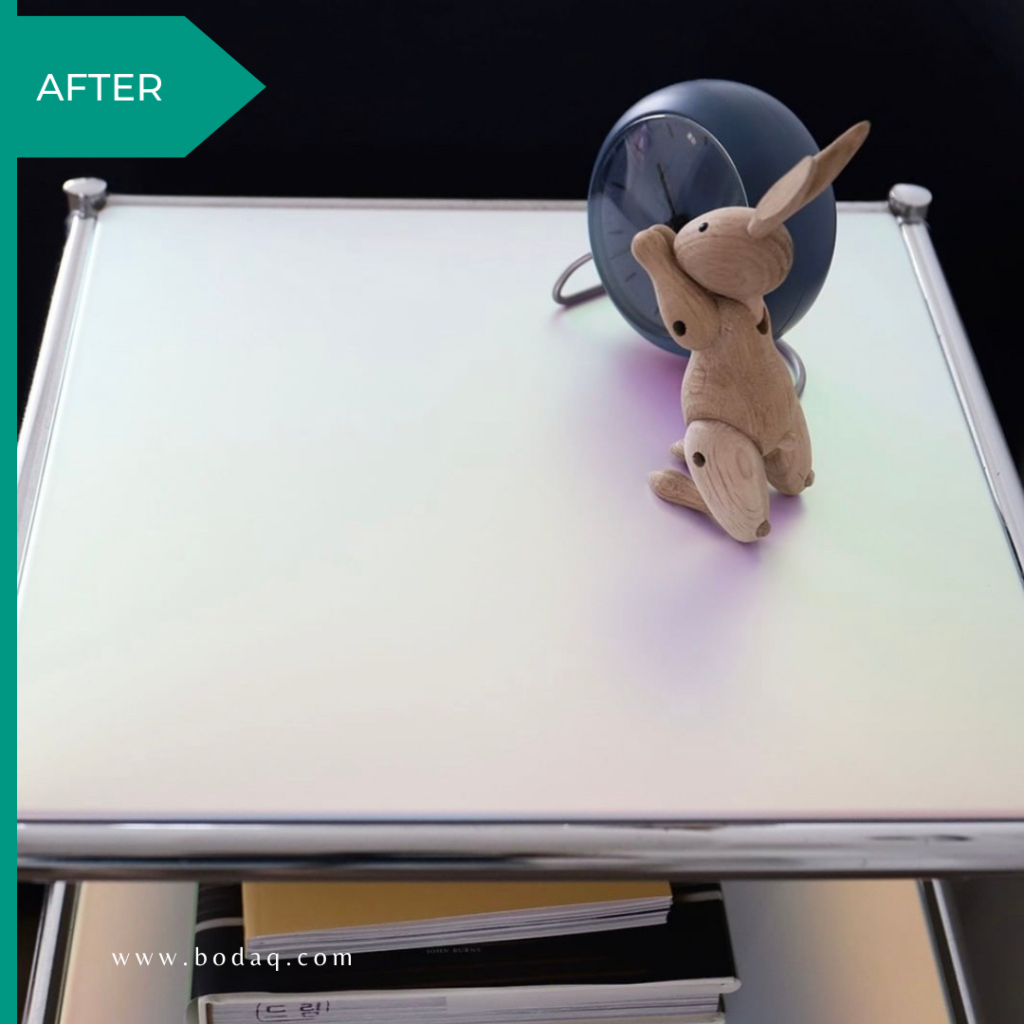
After wrapping all three shelves, we installed them back in their places. And voila – our shiny shelf is ready. Don’t you think it looks great? Would you try transforming one of your furniture pieces?
For Inquiries.
If you have questions about Bodaq Interior Film, would like to know how to install it, or become a Bodaq certified installer, contact us through the contact form, certification request form, or at [email protected]. We are always happy to hear from you and assist you further.

