Yes, you can wrap over painted walls, and in most renovations painted drywall is exactly what the film goes onto. The result depends less on the film than on the paint underneath: it needs to be fully cured, sound, clean and smooth. If it is, a self-adhesive architectural film gives you wood, stone, metal or fabric looks without demolition, dust or a repaint. If it is not, the film will only be as stable as the weakest layer beneath it.
This guide walks through what makes a painted wall a good candidate, how long to let new paint cure, how to prep and test, what to do with bad paint, and what to expect when the film eventually comes off.
TL;DR
- Self-adhesive film works on painted walls when the paint is well bonded, fully cured, clean and reasonably smooth.
- Fresh paint needs time to cure before wrapping. Many installers wait up to about a month, and a test patch tells you more than any rule of thumb.
- Peeling, chalking, cracked or damp paint must be repaired or sealed first. Film cannot hold a surface together.
- Clean, dry, test, then wrap: skipping the small adhesion test is the most common cause of edge lifts.
- Removal is easiest from sound, cured paint, which is another reason to prep properly.
Table of Contents
- Why painted walls are a good base for film
- How long should fresh paint cure before you wrap?
- Which paint finishes work best?
- Step-by-step: prepping a painted wall for film
- Can you wrap over bad paint?
- What affects adhesion, durability and removal?
- Film versus repainting: when each makes sense
- Our perspective
- Choosing film for your painted walls
- Planning a project: a quick checklist
- FAQ
- Sources
Why painted walls are a good base for film
A wall that has been painted is, in a sense, already primed for a second life. Paint seals raw drywall, evens out porosity and gives the adhesive a consistent skin to grip. Bare drywall paper or fresh joint compound, by contrast, can pull away when the film is removed, which is why installers prefer to start with a painted, stable surface.
That said, “painted” covers a huge range of conditions. A satin acrylic applied two years ago in a hallway is a very different substrate from a flat builder-grade paint rolled on last Tuesday, or a textured wall with decades of layered coats and a few water stains. Before you pick a pattern, treat the wall like a patient: examine it, test it, and then decide.
What a good painted surface looks like
- Well bonded. The paint does not flake, bubble or lift when you press tape on it and pull.
- Fully cured. Dry to the touch is not the same as cured. Paint keeps hardening and releasing solvents and moisture for days or weeks after it feels dry.
- Clean. No grease, dust, soap residue, nicotine film or wax.
- Smooth. Film follows the surface it sits on. A sculptural look is wonderful when you choose it, but roller stipple, drips and ridges will telegraph through a thin film.
- Dry. No active moisture behind or within the wall.
How long should fresh paint cure before you wrap?
This is the question that trips up most renovation schedules. Paint dries by evaporation, then cures as the binder fully hardens. Until that finishes, the paint can still outgas, and the adhesive may bond to a layer that is not yet stable. Later, when the film is removed, it can take soft paint with it.
Installers commonly talk about waiting roughly three to four weeks after painting, and some will proceed sooner on a short, well-tested schedule. Because paint chemistry, sheen, temperature and humidity all change the clock, the honest answer is: follow the guidance of both the paint and the film manufacturer, and let a test patch decide. If your project has a hard deadline, a good alternative is to wrap surfaces that were painted weeks ago and keep the freshly painted walls for last.
Two practical notes:
- Cool, humid rooms cure slowly. A basement or a closed-up commercial space in winter can take noticeably longer than a sunny, ventilated living room.
- Heavy-duty or specialty coatings behave differently. Stain-blocking, mold-resistant or very low-odor formulas can have surface characteristics that affect grip, so test them specifically rather than assuming.
Which paint finishes work best?
Sheen matters because adhesive needs a surface it can wet out evenly.
| Existing finish | What to expect | What to do |
|---|---|---|
| Satin, semi-gloss | Typically the most reliable base: tight, smooth, easy to clean | Degrease, dry, test, wrap |
| Eggshell | Usually fine when cured and clean | Clean thoroughly, test an area |
| Flat or matte | Can be slightly chalky or dusty on the surface | Remove dust completely, consider a primer, test |
| Textured or heavily rolled | Texture can show through, and the contact area is smaller | Skim or sand smooth, or choose a pattern that hides it |
| Peeling, cracked or chalking | Poor foundation | Scrape, repair, prime, re-cure |
Flat paints are the usual surprise. They look perfect but leave a powdery surface that can weaken the bond. A clean wipe plus a primer made for film often turns a risky wall into a dependable one.
Step-by-step: prepping a painted wall for film
Surface preparation is where installs are won. Our own guide to surface prep for film goes deeper, but the sequence below covers the essentials.
1. Inspect in raking light
Hold a work light flat against the wall and look along it. Ridges, nail pops, roller lines, patched areas and dents suddenly appear. Mark them with painter’s tape. Anything you can see in raking light, you may see through a film, especially in gloss or metallic finishes.
2. Do a tape pull test
Press a strip of painter’s tape onto the paint, smooth it down, then pull it off at a sharp angle. If flakes or color come away, the paint is not bonded and needs repair before any film goes on.
3. Repair and smooth
Fill holes and dents, sand patches flush and feather the edges. Scrape any loose paint back to a sound edge. Where the damage is deeper, such as water staining or crumbling plaster, fix the cause first (see the section on bad paint below).
4. Clean and degrease
Remove dust with a dry or barely damp cloth, then clean with a mild degreaser or the cleaner recommended for your film system. Kitchens, hospitality corridors and entryways collect invisible grease and hand oils. Rinse any residue and let the wall dry fully, because soap film is a silent adhesion killer.
5. Prime where needed
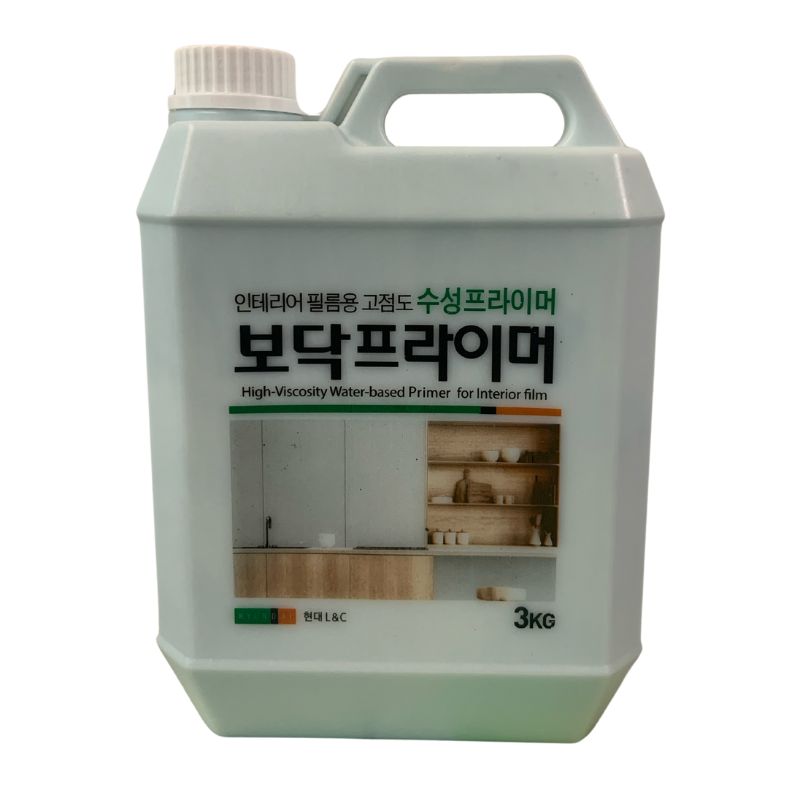
For dusty flat paint, patched areas or high-demand surfaces, a primer helps equalize porosity and gives the adhesive a uniform base. We make a water-based primer designed to work with our film, and our wall wrap installation guide shows where it fits in the process.
6. Test before you commit
Cut a small piece of film, apply it in an inconspicuous spot, press it down firmly and leave it. Check after a day or two: does it lie flat, hold its edges and peel with resistance? For moisture-prone spaces, a longer test is smart, and our 48-hour adhesion test explains how specifiers run one.
7. Install with the right technique
With the wall ready, installation follows the usual rhythm: position, squeegee from the center out, work around corners, trim and finish. Our step-by-step installation guide covers the details, and the post-heat step helps the film hold its shape around edges and recesses.
Can you wrap over bad paint?
Short answer: not directly. Film is a finish, not a repair. It will faithfully reproduce whatever is under it and cannot clamp loose paint to a wall. Here is how common problems break down.
- Peeling or flaking paint. Scrape back to firm paint, sand the edges, fill, prime and let it cure. Wrapping over it risks pulling the loose layer off with the film.
- Cracks. Hairline cracks that are stable can be filled and sanded. Moving cracks usually point to a structural cause and need a proper repair.
- Water stains or bubbling. Find and stop the leak first. Stained, blistered paint means moisture has been present, and trapped moisture beneath a film is a recipe for failure.
- Mold or mildew. Clean and remediate properly. Do not cover it.
- Heavy texture or orange peel. Skim coat and sand, or accept that the texture will show.
- Glossy or slick coatings. Scuff lightly, clean and test. Some coatings need primer.
If the wall is beyond saving, the cheapest route is usually the smallest repair that gets you to a sound, smooth surface, not a full replacement. Patching a localized damaged section of drywall and repainting is typically far less work than rebuilding a wall, and film then covers the repair seamlessly once it has cured. Get a local drywall contractor to quote the specific damage, because costs vary by region and scope.
What affects adhesion, durability and removal?
Three things dominate how a wrap behaves on a painted wall over time.
The surface. Cleanliness, smoothness and cure state decide whether the adhesive bonds uniformly. Edges and corners are where weak prep shows first.
The environment. Heat sources, direct sun, humidity swings and steam all stress adhesive. Kitchens, bathrooms, entry doors and storefront-adjacent walls need extra care and testing. Our piece on what makes wall wrap last breaks down the factors that matter most in high-traffic spaces.
The use. A lobby wall that gets luggage carts and shoulder rubs is a tougher environment than a bedroom accent wall. Higher-contact areas benefit from careful edge finishing and the right film choice.
Removal follows the same logic. Film comes off best from well-cured, well-bonded paint. If the paint was soft or poorly adhered, some may lift with the film, so plan for light touch-up. Warming the film gently as you peel at a low angle helps it release rather than tear. Test an inconspicuous corner if you want to know what to expect before committing to a full wall.
Film versus repainting: when each makes sense
Paint is hard to beat for flat, single-color walls in low-wear rooms. Film earns its place when you want something paint cannot do or when disruption matters.
- Texture and material looks. Wood grain, stone veining, brushed metal or woven fabric are difficult to fake with a roller.
- Speed and downtime. There is no wet coat, drying between coats or lingering smell, which matters in occupied homes, offices and hotels.
- Consistency. A roll is the same from edge to edge, so a multi-room or multi-site program looks coherent.
- Wear. Cleanable film surfaces hold up in busy corridors. Our cleaning and maintenance guide explains how to keep them looking fresh.
If you are comparing options across cladding, paneling and coatings, our overview of interior wall finishing materials lays out the trade-offs.
Our perspective
We see the same pattern again and again: a wall that looks fine at a glance, a rushed install and an edge that lifts a month later. Almost every time, the film was not the problem. The surface was dusty, damp, uncured or textured, and no one tested it.
Bodaq film is stretchable and uses an air-channeled adhesive, which makes installation cleaner and more forgiving, especially around curves and corners. But forgiving is not the same as magic. A film that bonds beautifully to a sound, cured, clean painted wall will still struggle on a chalky, damp or crumbling one. That is why we push prep and testing as hard as we push pattern selection.
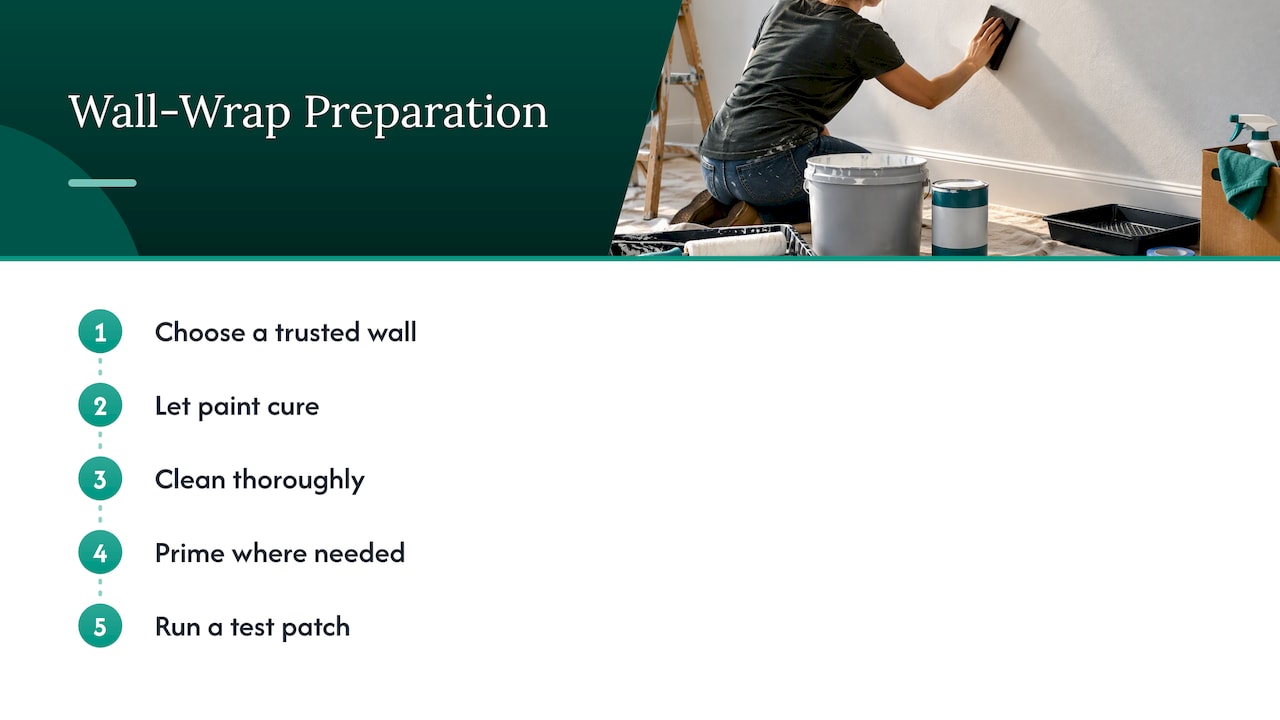
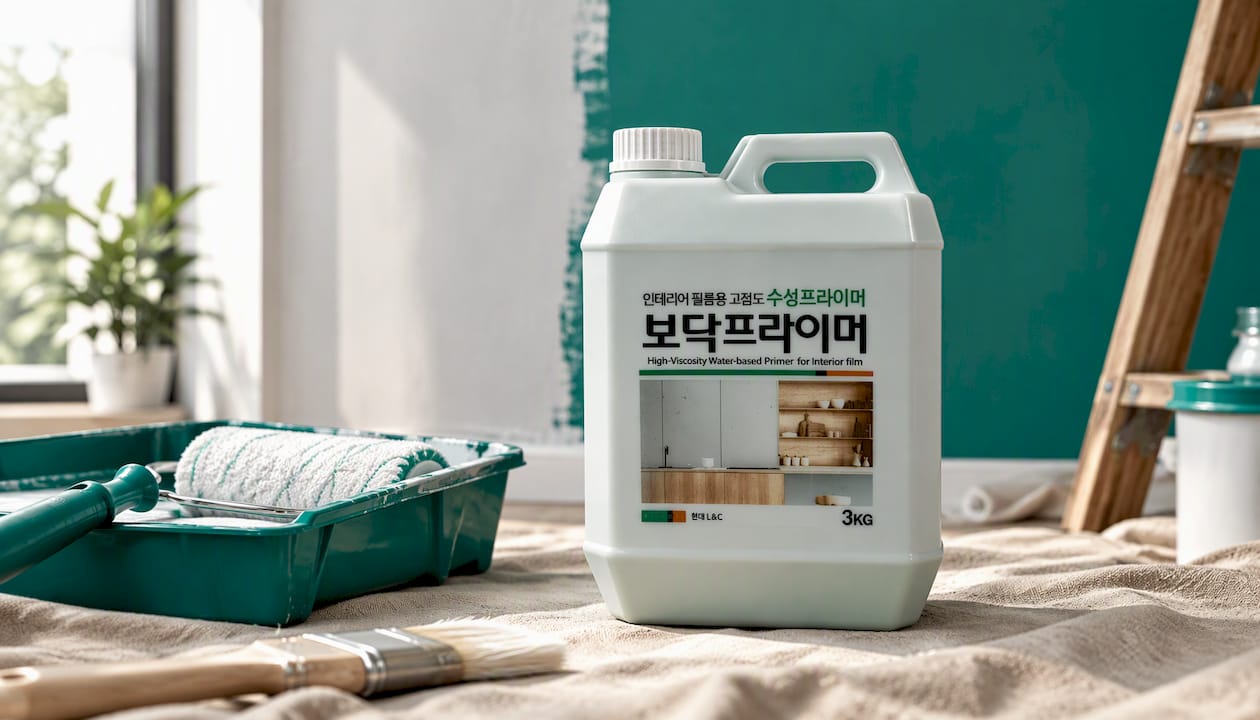
Our advice is simple. Choose a painted wall you trust, give new paint real time to cure, clean it like you mean it, prime where the surface calls for it, and run a test patch. Then enjoy a finish that would have taken a renovation crew weeks. For commercial and hospitality teams, that sequence is also what keeps downtime short, because you only wrap once.
— Bodaq
Choosing film for your painted walls
Once the wall is ready, the fun starts. Our catalog spans more than 450 textures and colors across wood, metal, stone and marble, solid color and fabric and leather collections, so you can match an existing palette or change the character of a room entirely. Order samples, tape them to your prepped wall and look at them in morning and evening light before you commit. For a full view of the range, start with Bodaq Interior Film.
Planning a project: a quick checklist
- Identify the paint type and when it was applied.
- Run the tape pull test on several walls, not just one.
- Mark and repair every defect you find in raking light.
- Clean, rinse and let the surface dry completely.
- Prime flat, dusty or patched areas.
- Apply a sample patch and check it after one to two days, longer in damp spaces.
- Wrap, trim and post-heat edges and recesses.
- Keep a spare offcut for future repairs.
If you install for clients, a short written record of the paint condition, the test result and the prep steps protects everyone when questions come up later. And if you are building a business around installation, we also support resellers and trained installers through our dealer opportunities.
FAQ
Can I put a wall wrap directly over painted walls?
Yes, as long as the paint is sound, clean, smooth and fully cured. Do a tape pull test and apply a sample patch first. If the paint flakes or the patch lifts at the edges, repair or prime before wrapping.
How long should I wait after painting before applying film?
Many installers wait about three to four weeks, though the right interval depends on the paint, sheen and room conditions. Follow the paint and film manufacturers’ guidance and confirm with a test patch. If you cannot wait, wrap older painted walls first.
Can you put a wrap over bad paint?
Not without repair. Peeling, cracked, chalky or water-damaged paint will not hold the film and may come off with it. Scrape, patch, sand, prime and let the repair cure, then wrap. Fix any moisture source before you start.
Will wrap damage painted walls when removed?
On well-bonded, cured paint, film typically peels off cleanly, and gentle warmth helps. Soft, fresh or poorly bonded paint can lift with it, so test a hidden corner and plan for touch-up.
Do I need primer on a painted wall?
Not always, but it helps on flat or chalky paint, patched areas and demanding environments. A primer made for film equalizes the surface and supports a stronger bond.
Sources
- Prevent Edge Lifts: 5 Step Surface Prep for Film Installers
- 48 Hour Adhesion Test: Moisture Resistant Wall Finish for Specifiers
- Wall Wrap Durability: What Really Makes Interior Film Last
- How to Clean and Maintain Architectural Film
- Clean, Durable Wall Wrap Installation With Bodaq Primer
- Step-by-Step: How to Install Architectural Vinyl Film