
Smooth, non-porous substrates, sealed wood, painted drywall, laminate, glass, metal, and HPL accept self-adhesive stretchable architectural film reliably. Porous or heavily textured surfaces like unsealed concrete, brick, and stucco need sealing first, or should be avoided entirely. The decision rule is simple: run a 72-hour adhesion test patch, and if it fails, seal the substrate or apply a primer before committing to a full installation. Stretchable film works across most of these accepted substrates, and the technical resources below walk through testing and prep in detail.
TL;DR:
- Sealed or painted wood, laminate, glass, and metal generally accept the film without primer, while unsealed concrete, brick, and textured surfaces require sealing first.
- Conduct a 72-hour adhesion test patch on-site before full installation to identify substrate issues and decide if primer is necessary.
- Proper cleaning, defect repair, and sealing are essential preparation steps, with moisture or uneven surfaces posing risks for film failure.
- Temperature and surface geometry significantly influence stretchability and adhesion, especially on curved or complex shapes.
- Use mild detergents for maintenance, address lifts immediately, and select collections like ECF01 for high-touch areas to ensure durability.
Table of Contents
- Which Substrates Accept Self-Adhesive Architectural Film?
- How Do You Test Adhesion Before Full Installation?
- What Surface Preparation Do You Need Before Applying Film?
- How Do Curves, Edges, and Temperature Affect Installation?
- How Should You Clean and Maintain Installed Film?
- Bodaq Collections Matched to Substrate and Use Case
- When Should You Specify Film Over Traditional Surfacing?
- How to Request Samples, Training, and a Project Quote
- Sources
- FAQ
Which Substrates Accept Self-Adhesive Architectural Film?
Substrate compatibility architectural film decisions start with one question: how smooth and stable is the surface underneath? Manufacturer installation guides break substrates into two camps, ones that reliably hold adhesive bonds and ones that require intervention before film goes on. The 3M DI-NOC installation instructions list specific non-compatible surfaces, including non-sealed concrete, non-sealed drywall, and porous substrates generally, alongside recommendations to seal them before application.
Here’s how the common interior substrates shake out:
- Wood and MDF: Compatible once sealed or painted. Raw wood needs sanding to a smooth profile and a sealer coat before film adhesion will hold long term.
- Painted drywall: Compatible when the paint has fully cured and the surface is smooth. Low-VOC formulations vary in how they cure and outgas, so an adhesion test matters here even on a wall that looks ready.
- Laminate and HPL: Typically compatible with no primer needed. Pay attention to edge detailing on cabinet fronts and panels, where exposed laminate edges need careful film wrapping or trim to prevent lifting.
- Metal and glass: Strong adhesion on clean, smooth finishes. Both substrates demand thorough degreasing since any oil or residue undermines the bond before it forms.
- Plastics: Mixed results. Polyethylene and polypropylene resist adhesives by nature, so plan on a primer or steer the spec toward a different substrate where those plastics dominate.
- Stone, concrete, and textured surfaces: Usually need sealing and flattening, or fall outside the recommended range entirely. Texture telegraphs through the film and reduces the actual contact area the adhesive has to grip, according to the Coala Interior Film technical manual.
- Wallpaper and vinyl wallcoverings: Proceed with caution. Layering vinyl film over existing vinyl wallcovering raises both adhesion questions and fire-code stacking concerns, and most specifiers avoid it in favor of stripping back to the original wall.
How Do You Test Adhesion Before Full Installation?
Every credible installation guide comes back to the same recommendation: test before you commit material and labor to an entire wall or door run. A simple on-site adhesion sample left for 72 hours is the fastest, lowest-cost way to catch a substrate problem before it becomes a callback.
Run the test this way:
- Clean a small section of the actual substrate the same way you would prep for full installation.
- Apply a sample patch of film, roughly 6 by 6 inches, using standard pressure and smoothing technique.
- Leave the patch undisturbed for 72 hours at normal room temperature and humidity.
- Peel back a corner slowly and observe how the film releases.
- Record the result: clean release means the substrate is compatible; partial lift or adhesive residue left behind means you need a primer or should decline the substrate.
Primers split into two camps. Water-based adhesion promoters, like 3M’s WP-2000, tend to offer easier cleanup and lower odor, while solvent-based options such as 3M Tape Primer 94 often deliver stronger peel adhesion improvements on tougher substrates. Coverage rates differ between the two, so check the manufacturer’s table before ordering quantities for a large job.
Pro Tip: Run your 72-hour test patch in the least visible corner of the actual project surface, not a sample board in the shop. Real substrates carry inconsistencies, old paint layers, patch compound, moisture variation, that a test board never replicates.
What Surface Preparation Do You Need Before Applying Film?
Cleaning, repair, and sealing account for most of what separates a successful film installation from one that fails within a year. Skipping steps here is the single most common cause of the substrate compatibility architectural film failures installers see in the field.
Follow this sequence:
- Clean thoroughly. A 70/30 isopropyl alcohol and water mix removes grease, dust, and residue without leaving a film of its own. The 3M installation instructions recommend this enhanced cleaning method as a baseline step on nearly every substrate.
- Repair defects. Fill holes and gouges with a compatible spackle or wood filler, then sand high spots flat and feather the edges of old coatings so no ridge telegraphs through the finished film.
- Check filler cure times. Most patching compounds need 24 to 48 hours to cure fully before sanding and sealing; painting or sealing over wet filler traps moisture that shows up later as bubbling.
- Seal porous substrates. Apply the sealer the film manufacturer specifies, then respect the stated cure time exactly. Rushing this step is where low-VOC paints and fresh sealers most often undermine adhesion.
- Control dust before application. A single afternoon of sanding dust settling on a “clean” wall is enough to compromise the adhesive layer once film goes on.
How Do Curves, Edges, and Temperature Affect Installation?
Stretchable film behaves differently depending on the geometry and climate it meets, which is exactly why the same product performs beautifully on one substrate and struggles on another.
- Heat-activated stretching lets film conform to curved columns and rounded edges, but extreme 3D shapes, deep coves, tight inside corners, still push past what any stretch film can wrap cleanly.
- Edges and overlaps on doors, cabinet fronts, and panel joints need extra attention: wrap and tuck edges wherever possible rather than butting film against a raw edge, since butt joints are where lifting starts first.
- Installation works best within a moderate temperature and humidity window. Cold surfaces slow adhesive activation and can cause whitening or creasing at fold lines, while surfaces that are too hot can make the film stretch unevenly during placement.
Thinner, exterior-rated matte films tend to be less forgiving on curved surfaces than interior collections built for conformability, so match the product to the geometry before specifying it.
How Should You Clean and Maintain Installed Film?
Daily upkeep is straightforward: wipe surfaces with a mild detergent and a soft cloth, and skip anything abrasive or high in alkalinity, since both degrade the film’s surface finish and can work into the seams over time.
- For stains, start with the mildest option, a diluted detergent solution, before stepping up to a manufacturer-recommended solvent, and always spot-test in a hidden area first.
- Inspect high-traffic zones on a regular schedule; door edges, corners, and areas near sinks or entries take the most wear and show lifting first.
- If an edge starts to lift, address it immediately with an approved adhesive touch-up rather than waiting, since a small lift left alone tends to spread under foot traffic or repeated cleaning.
Bodaq’s own cleaning and maintenance guide walks through product-specific recommendations for different finish types.
Bodaq Collections Matched to Substrate and Use Case
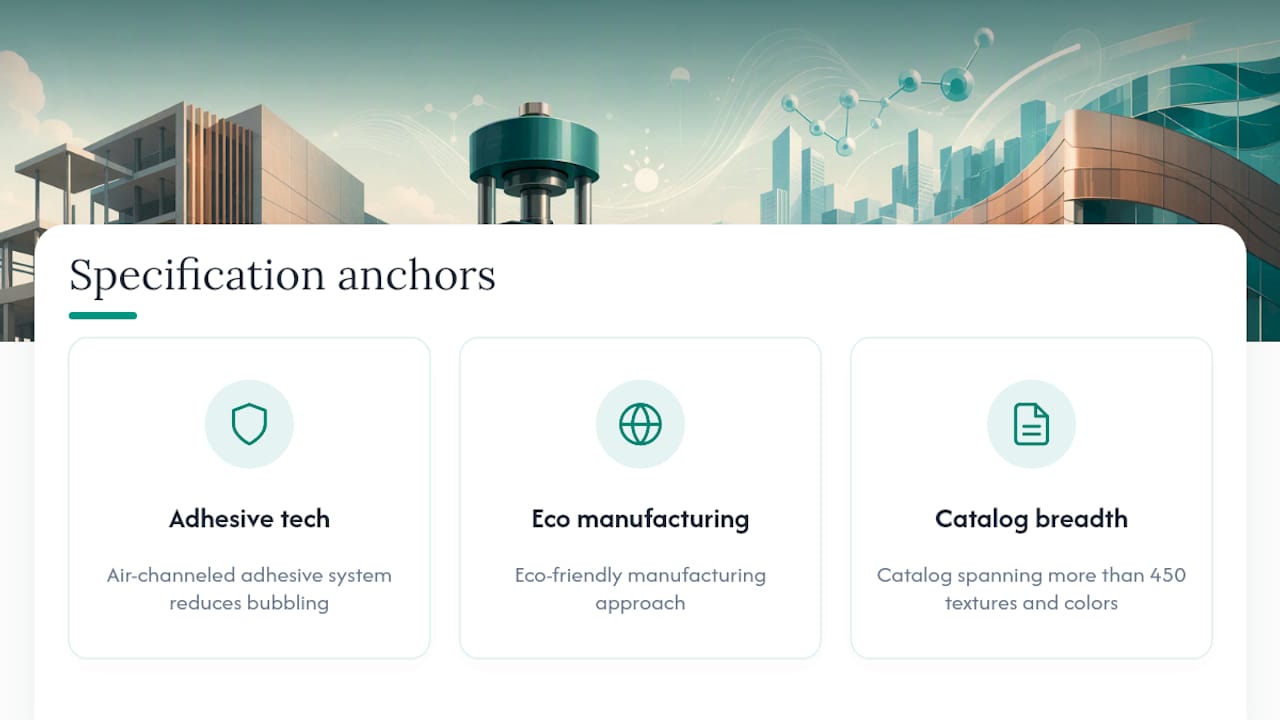
Stretchable, self-adhesive film technology uses an air-channeled adhesive system designed to reduce bubbling during application, paired with an eco-friendly manufacturing approach and a catalog spanning more than 450 textures and colors. Matching the right collection to the right substrate and traffic pattern is most of the specification work.
The Easy Clean – High-Performance Collection ECF01 suits high-touch surfaces, elevator interiors, reception counters, door faces, where cleanability under frequent contact matters more than anything else. The Rustic Stone – High-Performance Collection EXF52 brings a convincing stone look to feature walls and panel accents without the weight or installation complexity of actual stone. The Onyx – High-Performance Collection EXF51 delivers a dark, dramatic finish for accent walls and millwork where a bold visual statement is the goal.

Start with Bodaq’s step-by-step installation guide before your first project, and browse the full collection lineup to compare wood, metal, and solid color options side by side.
When Should You Specify Film Over Traditional Surfacing?
Film wins when schedules are tight, disruption has to stay minimal, or a project needs the same texture repeated across multiple sites. It’s the wrong call for continuous wet horizontal surfaces or high-abrasion zones without a protective topcoat. Budget adhesion testing and small demo patches into early prototyping, not as an afterthought.
— Bodaq
How to Request Samples, Training, and a Project Quote
An advantage over sourcing separate primers, contractors, and finish materials for a substrate-sensitive project is straightforward: one stretchable, self-adhesive film system with over 450 textures, backed by installation and testing guidance, means fewer variables to manage across a spec.
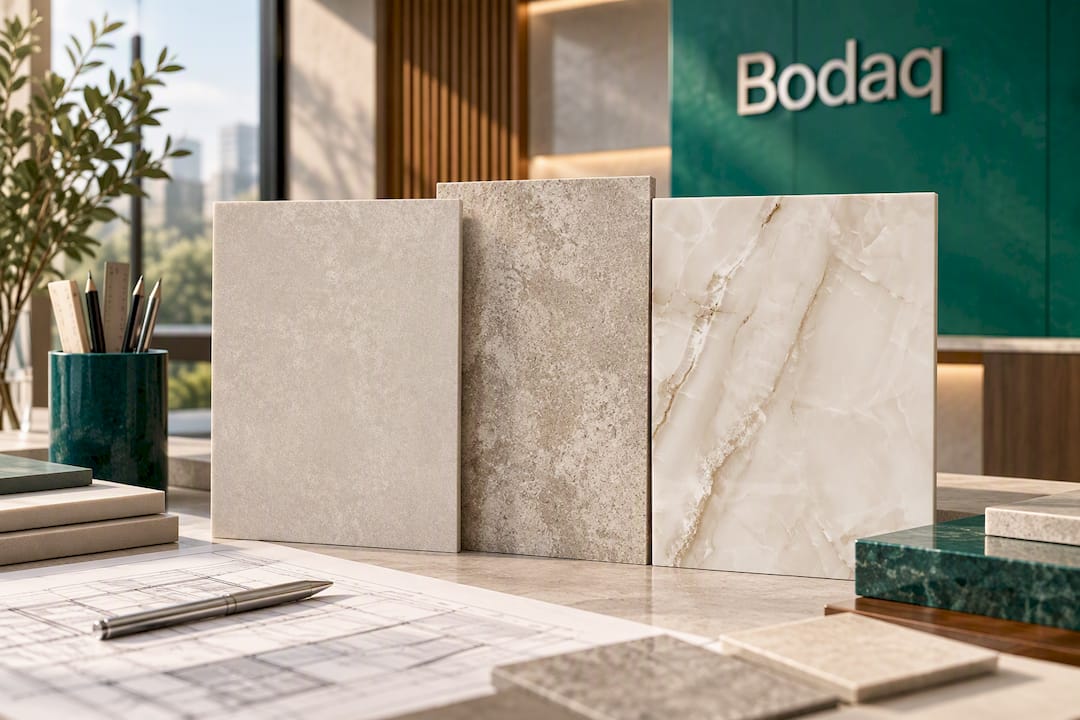
If you’re weighing options for a wall, door run, or millwork package, start with the Bodaq Interior Film landing page for full product details and dealer contacts. The Easy Clean – High-Performance Collection ECF01, Rustic Stone – High-Performance Collection EXF52, and Onyx – High-Performance Collection EXF51 each have dedicated product pages with specs and imagery worth reviewing before you finalize a substrate plan. Bodaq also supports certified installer training and dealer programs for firms handling volume or repeat projects.
The most useful next step on any new substrate: request a sample, run the 72-hour adhesion test on-site, and confirm the result before ordering full rolls. That single step catches most compatibility surprises before they become a change order.
Sources
- 3M™ DI-NOC™ Architectural Finishes (installation instructions)
- 3M™ DI-NOC™ Architectural Finishes (installation guide)
- Coala Interior Film technical manual (application guide)
FAQ
What Substrates Are Not Compatible With Architectural Film?
Non-sealed concrete, non-sealed drywall, unsealed brick, and other porous or heavily textured substrates generally aren’t compatible without sealing first, according to manufacturer installation guides. Surfaces with active moisture problems, loose material, or crumbling should be avoided entirely rather than sealed and risked.
How Long Should an Adhesion Test Run Before Installation?
A standard test patch should sit undisturbed for 72 hours at normal room temperature before you peel back a corner to check the bond. A clean release means the substrate is ready; residue or partial lifting signals the need for a primer.
Do I Need a Primer for Painted Drywall?
Not always. Fully cured, smooth painted drywall is generally compatible without a primer, but some low-VOC paint formulations affect adhesion unpredictably, so a 72-hour test patch is worth running before skipping the primer step.
Can Architectural Film Be Applied to Textured or Stone Surfaces?
Rarely without significant prep. Texture shows through the film and reduces the adhesive’s actual contact area, so most stone, concrete, and heavily textured substrates need sealing and flattening first, or a different substrate entirely.
Which Bodaq Collection Works Best for High-Touch Areas?
The Easy Clean – High-Performance Collection ECF01 is built for surfaces that see frequent contact, like door faces, counters, and elevator interiors, where cleanability matters most. Pricing for Bodaq collections is available directly on the product pages.